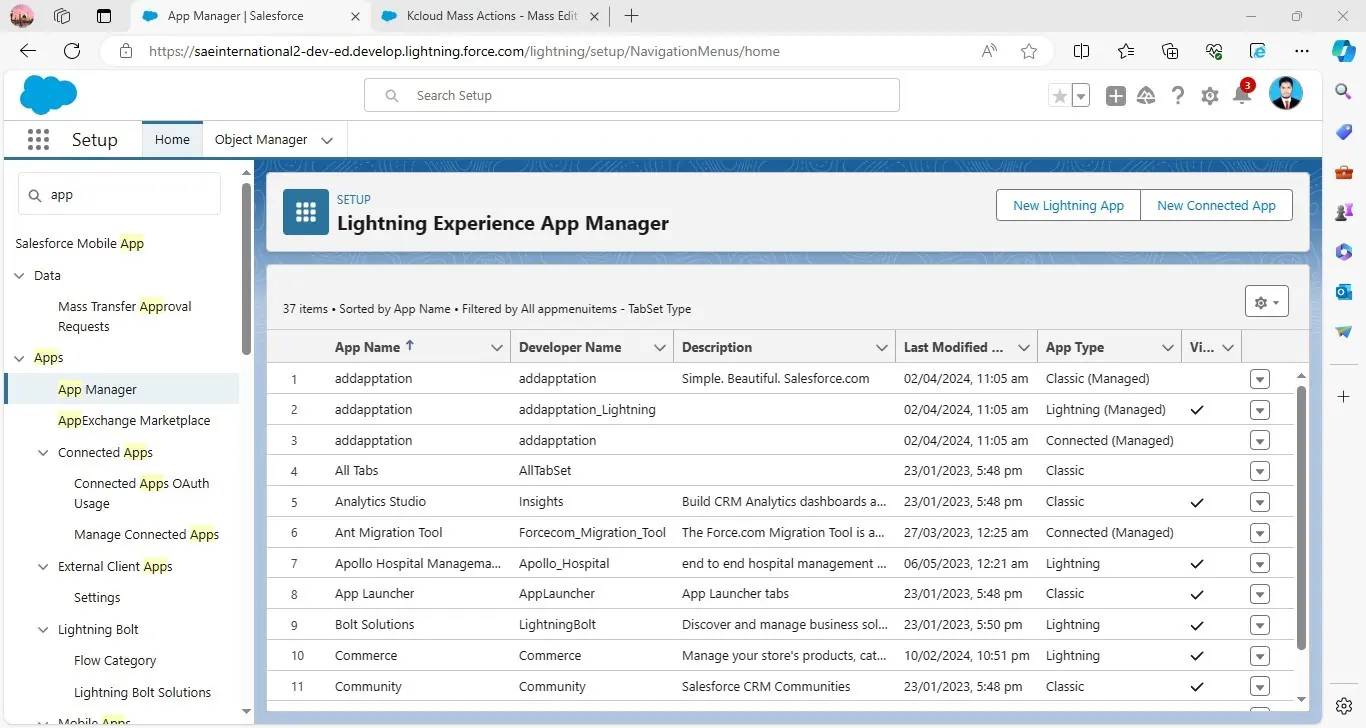
In the ever-evolving landscape of Salesforce, the AppExchange platform continues to be a game changer, offering a plethora of apps that cater to diverse business needs. This blog delves into a few scenarios that illustrate how specific apps from AppExchange can streamline operations and enhance functionality within Salesforce.
App Exchange Scenario:
Custom App:
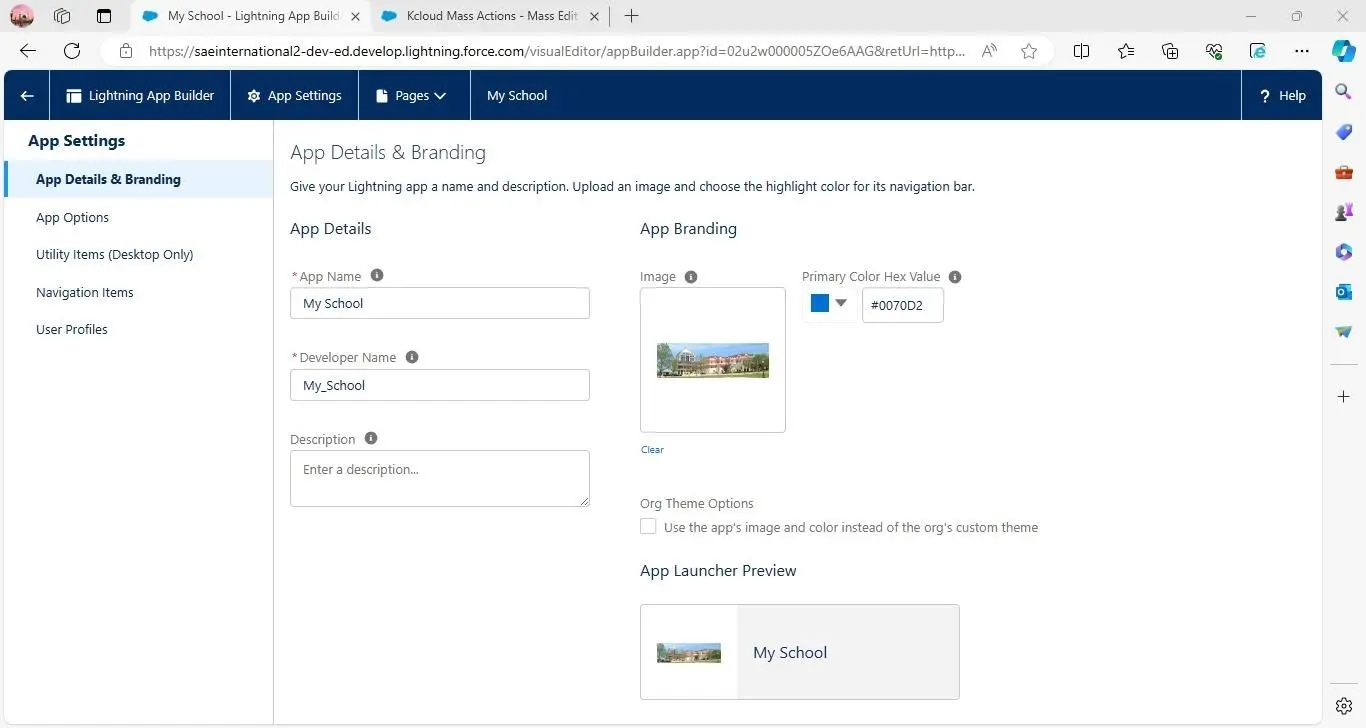
Scenario 1: Create the custom lighting app “My school’’, including tabs (teachers, classes, home, subject book history, student names, etc.), and assign to the profile (System Admin).
Steps: – To create the custom lightning app, follow the path
- Create a Profile as “Recruiter” ( Clone the Standard user and rename to “Recruiter”)
- Provided Object permission to below
- Give the name to the app “my school” à Choose the logo or
- Create one Profile as “Standard Employees” and provide below access to the Objects.
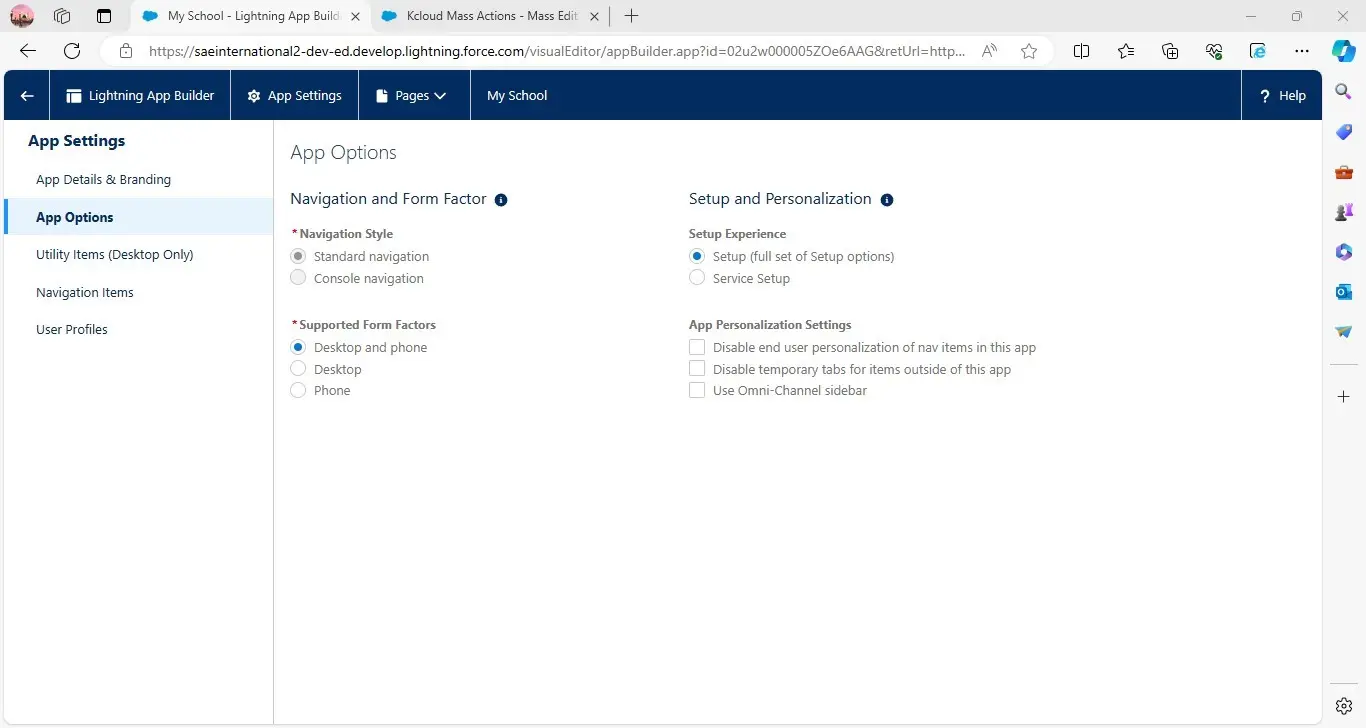
- App options (supported from factors: desktop and pone) and (navigation style: standard navigation)
- Utility items (phone and chatter)
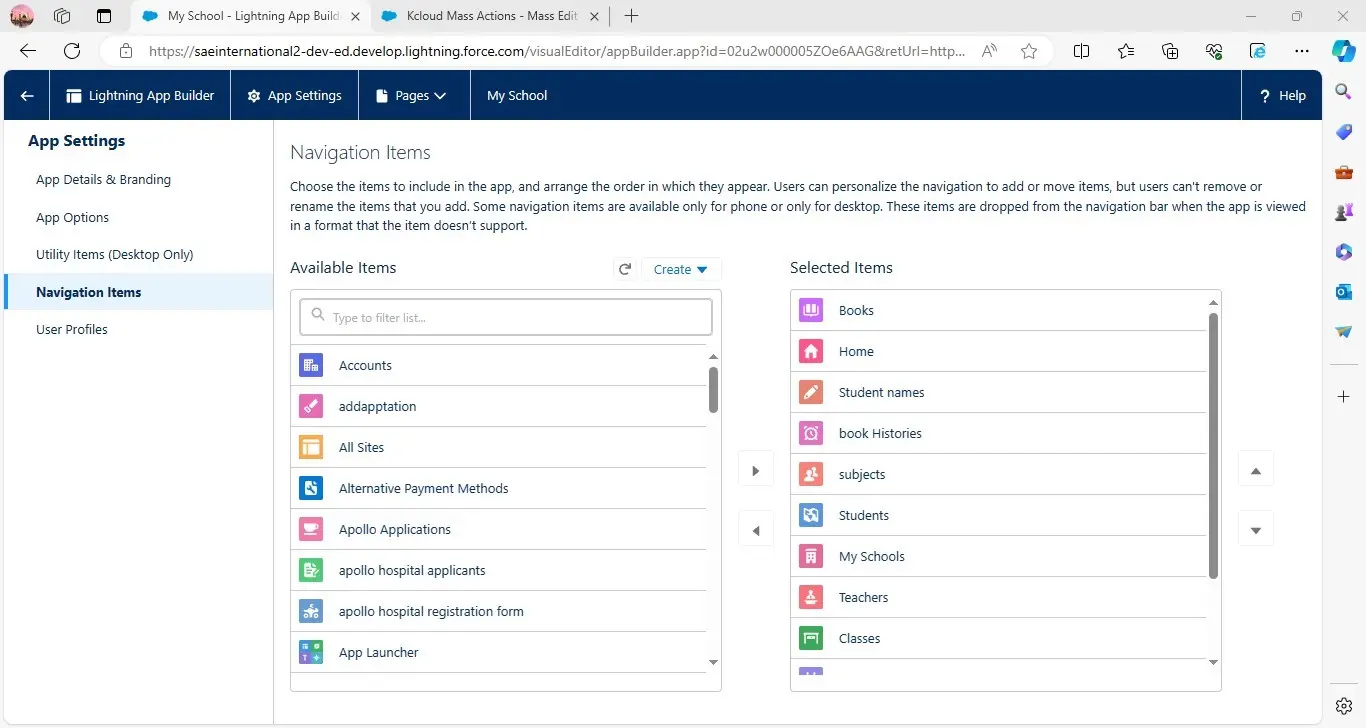
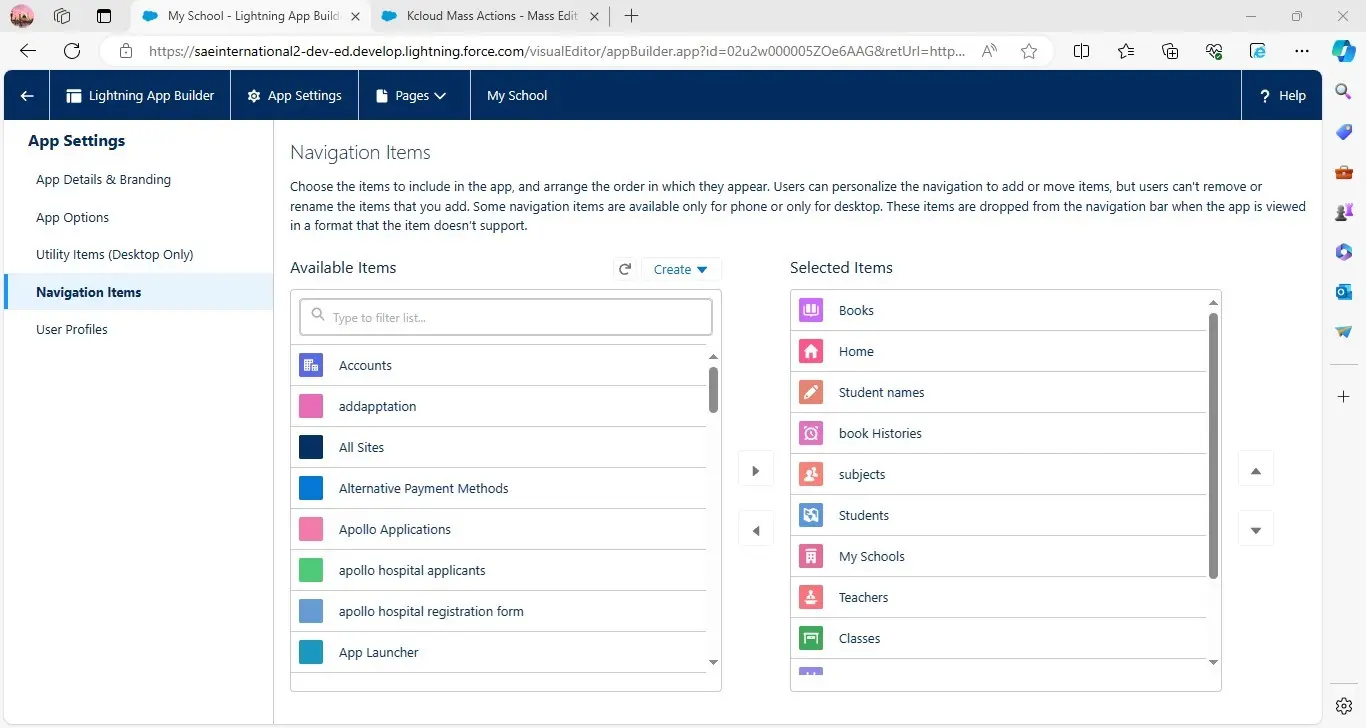
- Choose the Navigation Items (as shown in the image)
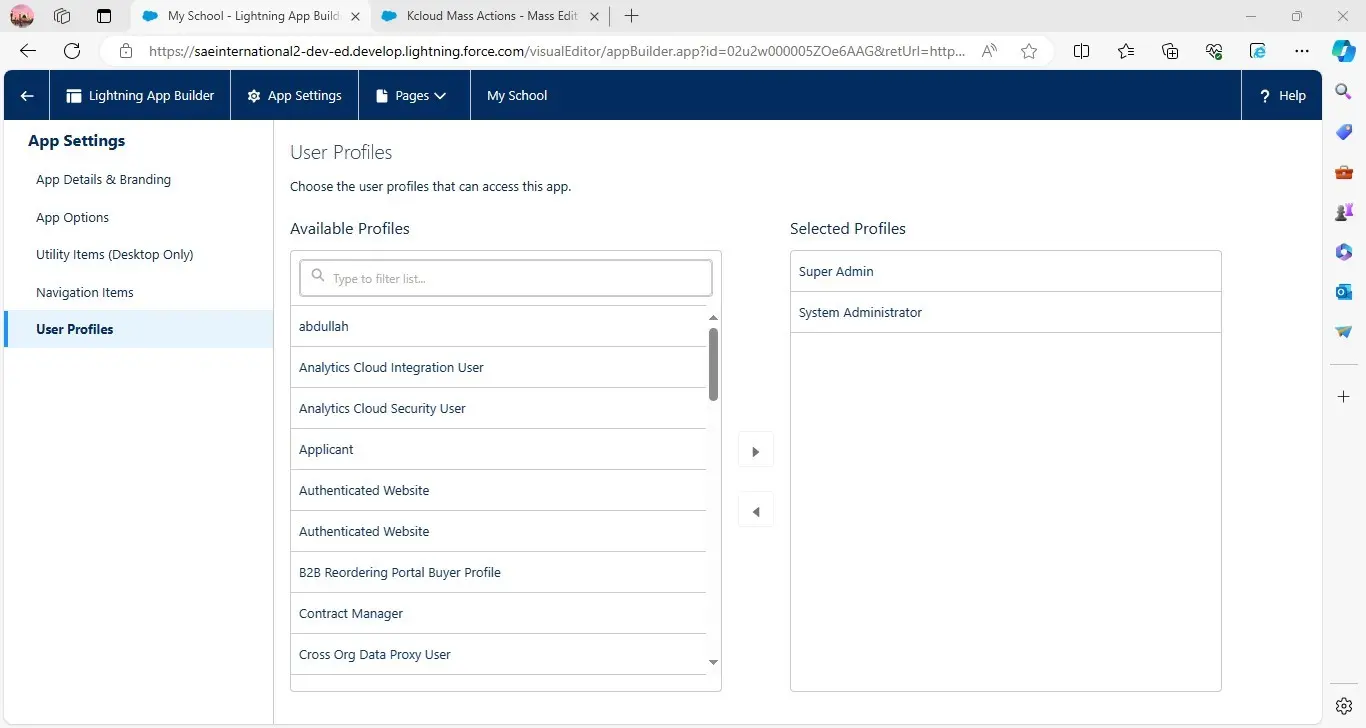
- User profile (system Admin)
- Save
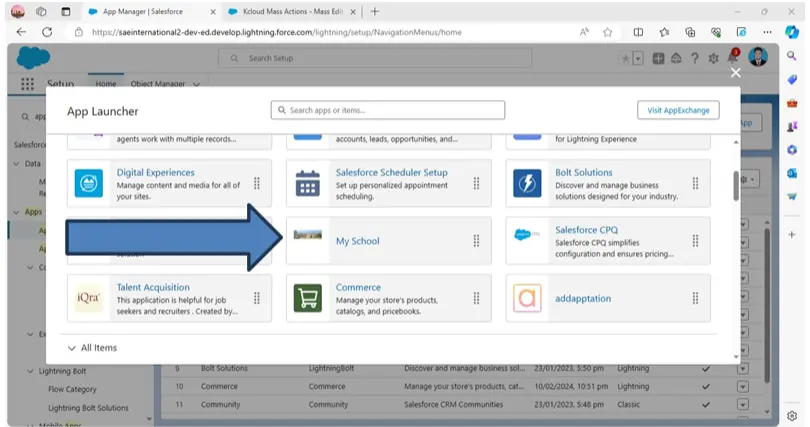
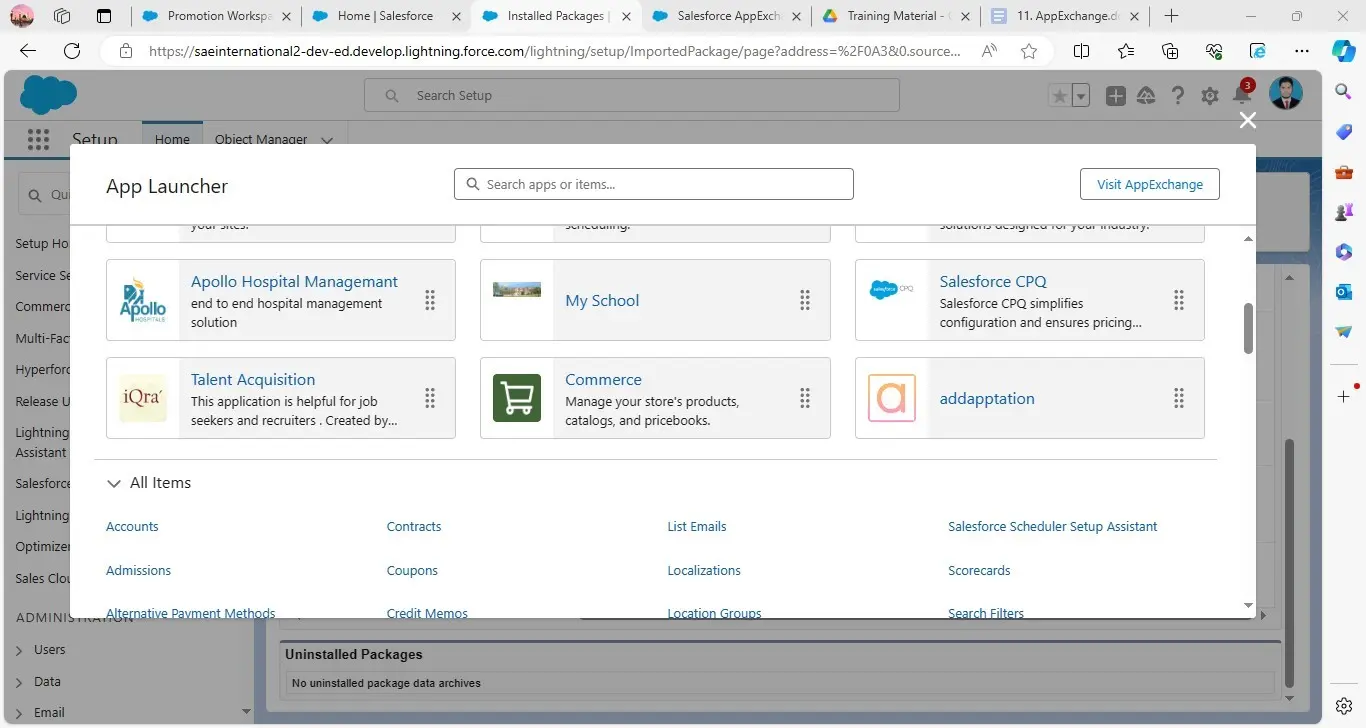
- Now you can see and access the “My School” app, as shown in the below
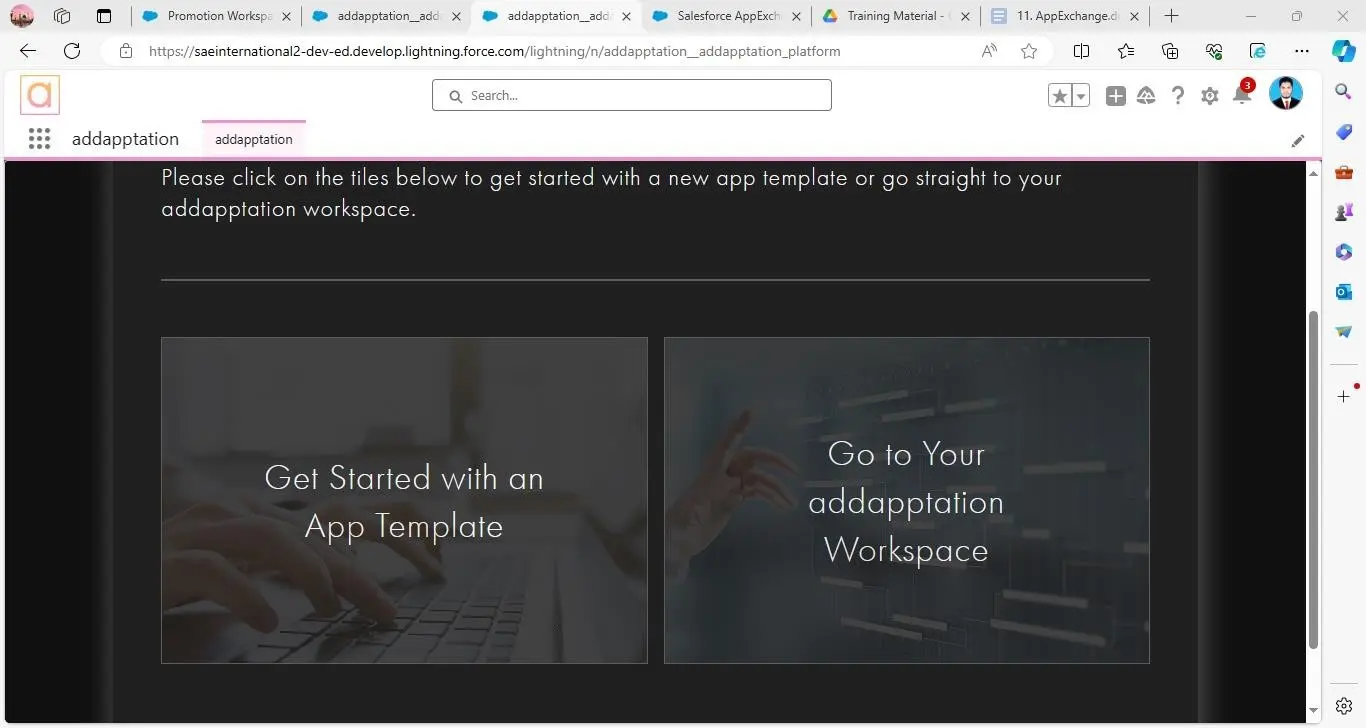
Addapptation:
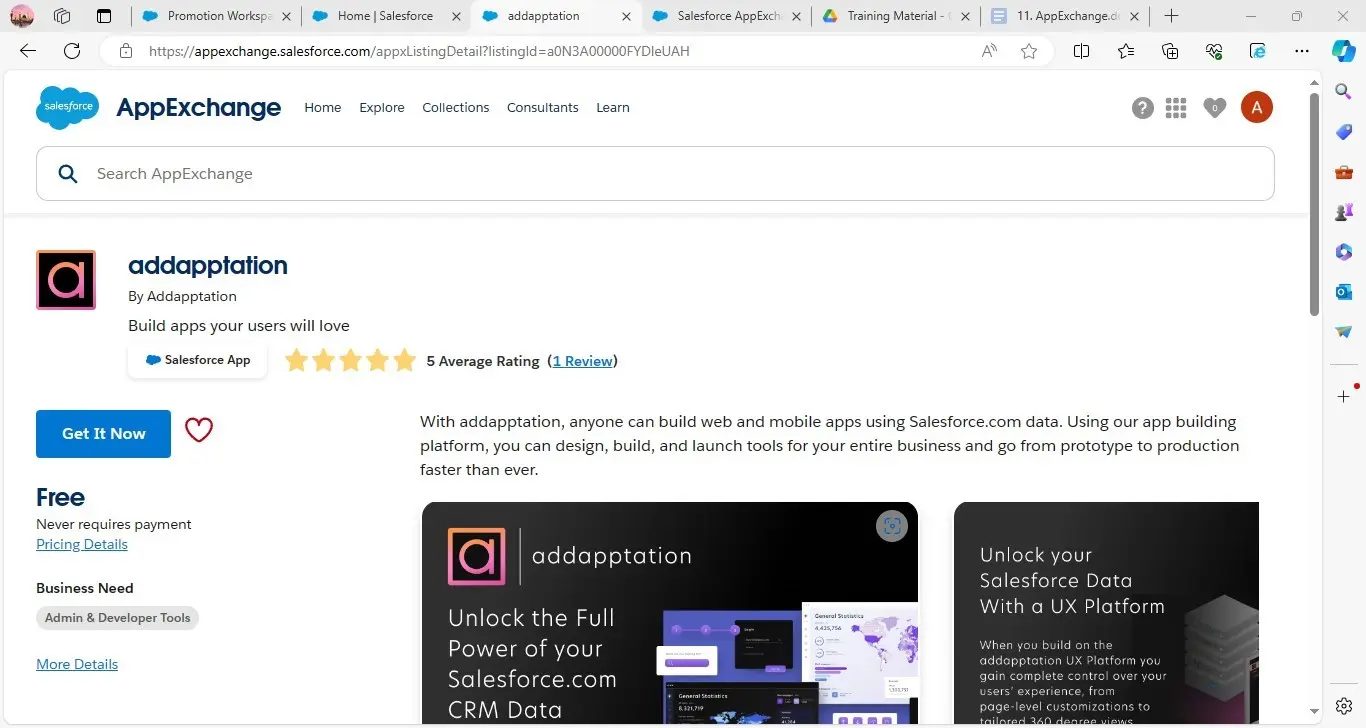
Scenario 2: Install the ‘Addapptation’ (free) app from App Exchange.
- How to install an app from an app exchange
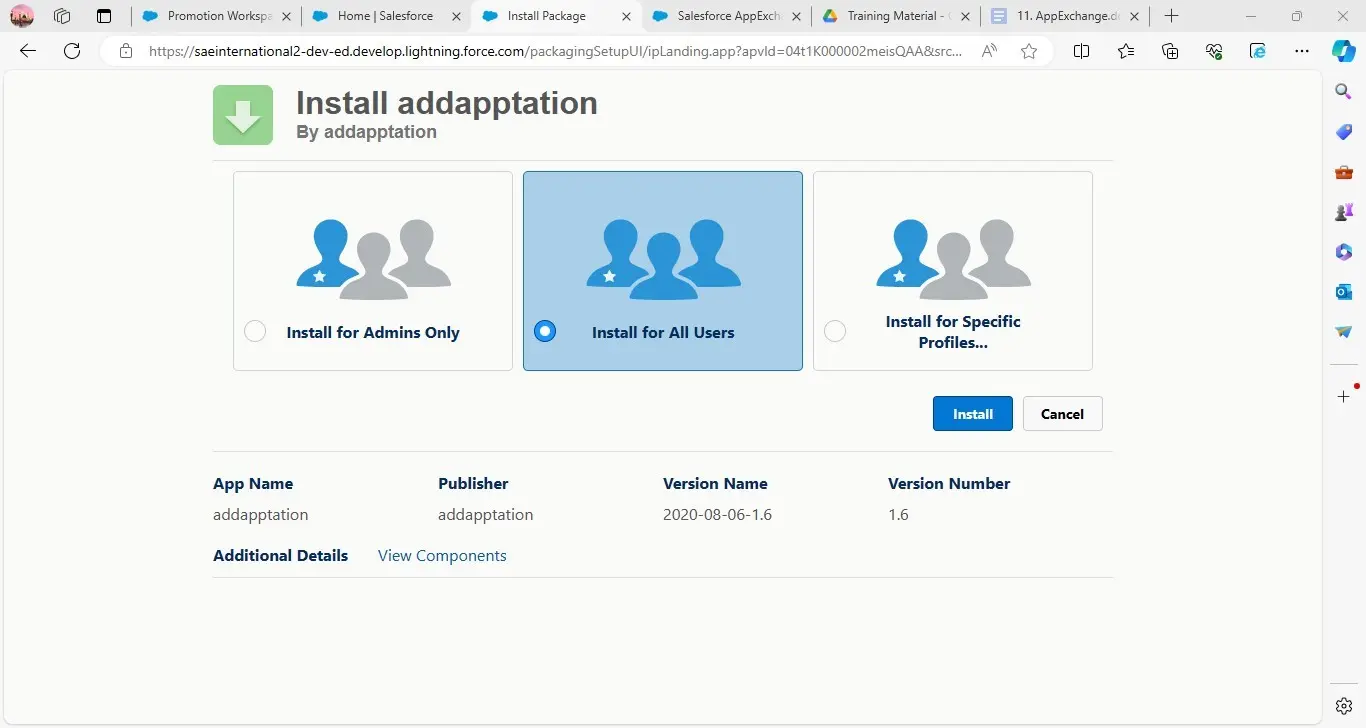
App Launcher > views all > App Exchange > search ‘Addapptation’ > get it now >
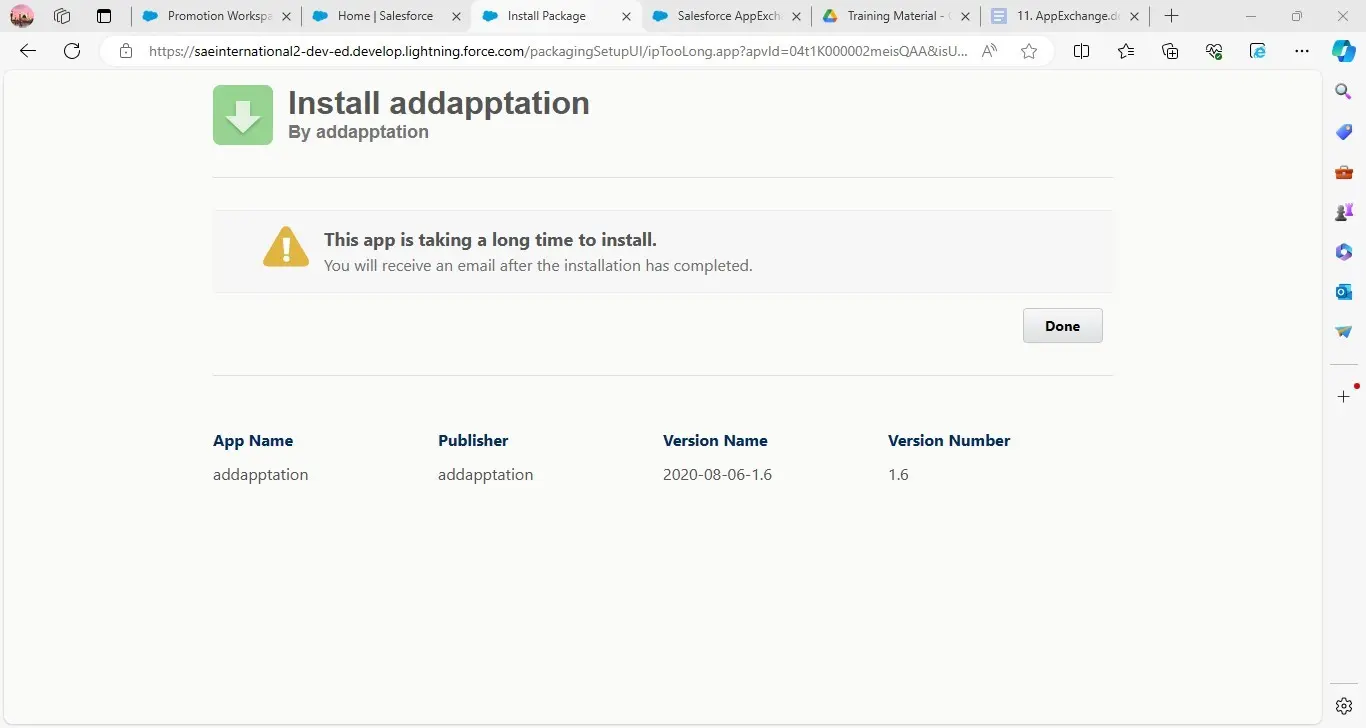
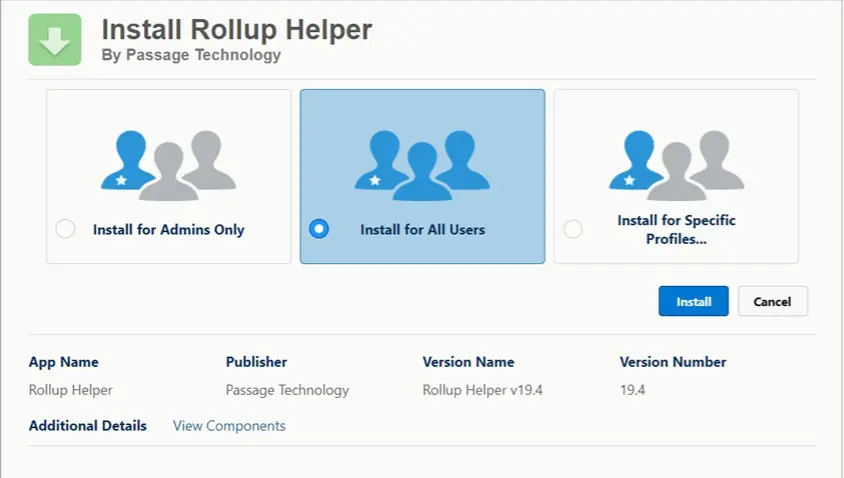
Install in production, > Confirm and install > Login > Install for all users > done.
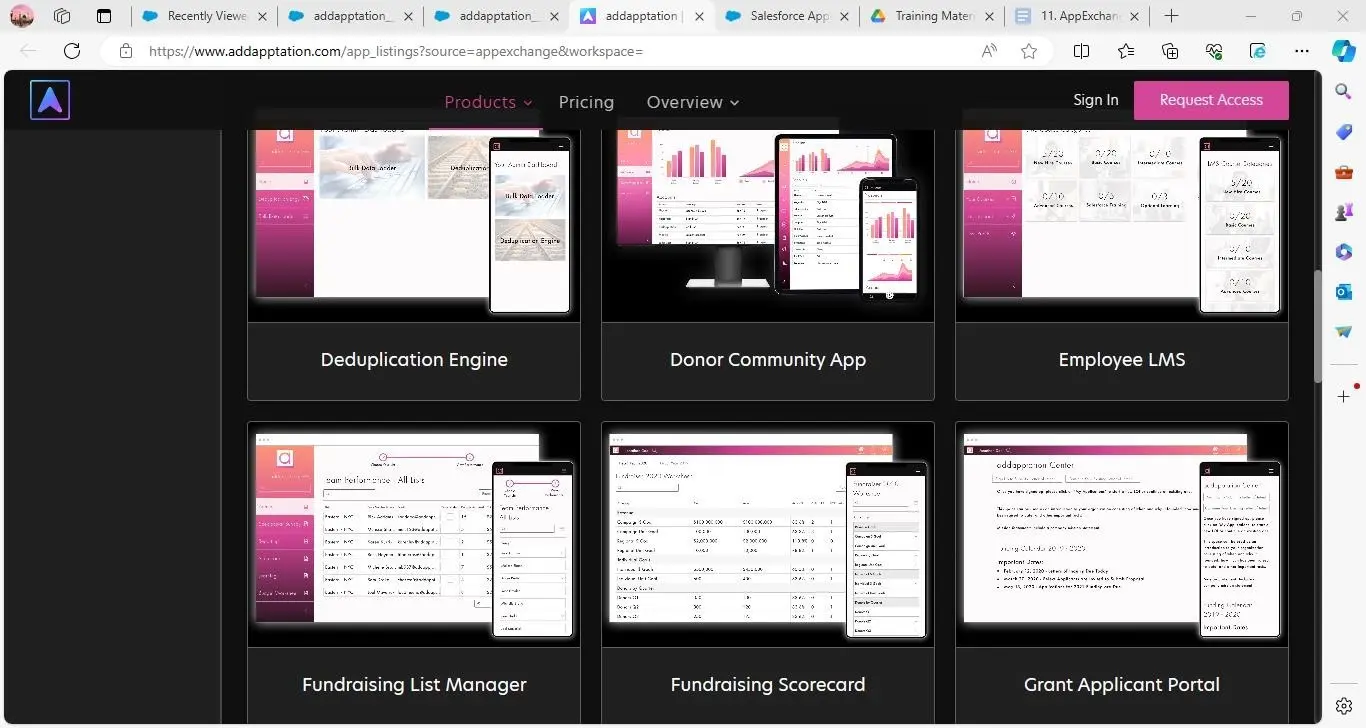
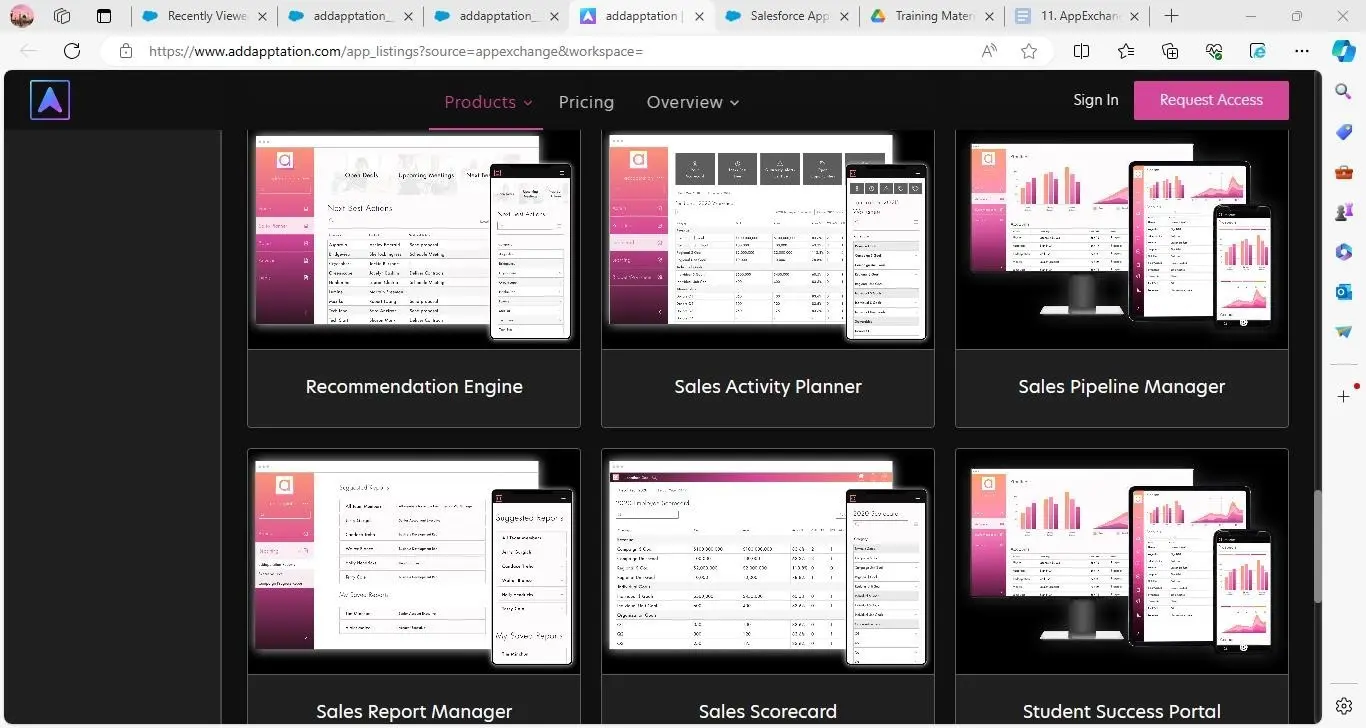
With Addapptation, anyone can build web and mobile apps using Salesforce.com data. Using our app-building platform, you can design, build, and launch tools for your entire business and go from prototype to production faster than ever.
Now we can use the following app.
Rollup Helper:
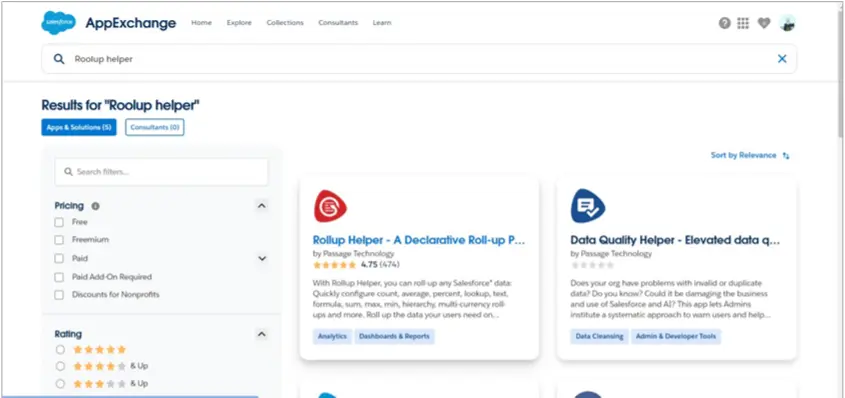
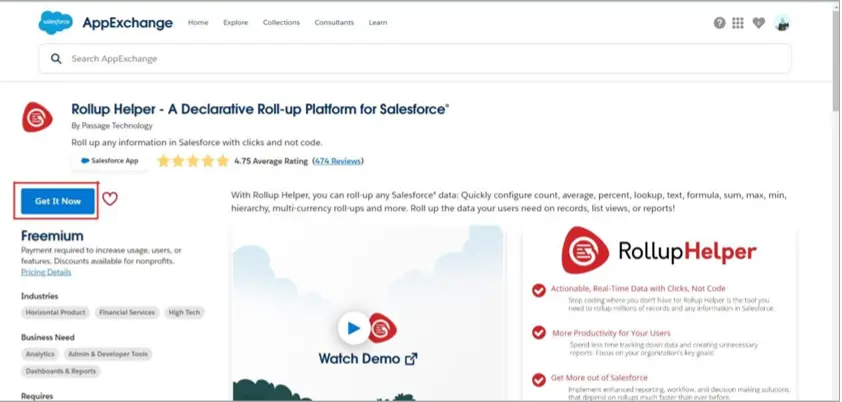
Scenario 3: Install the ‘Rollup Helper’ app from App Exchange.
- How to install a Rollup Helper from an app exchange
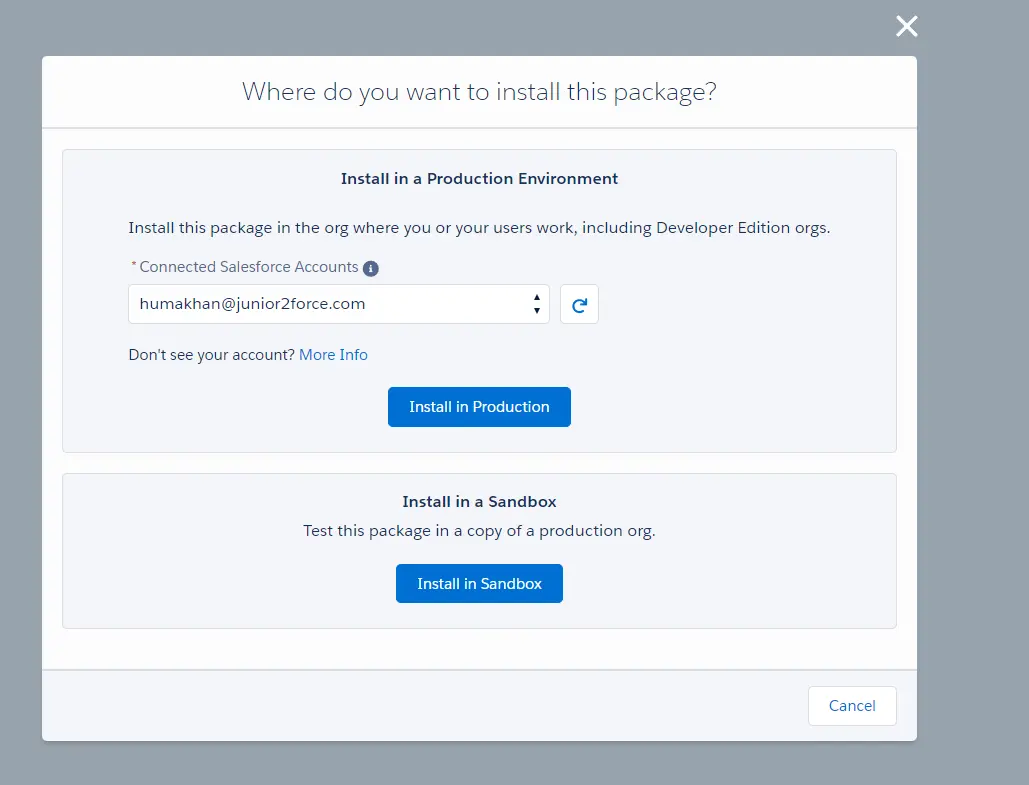
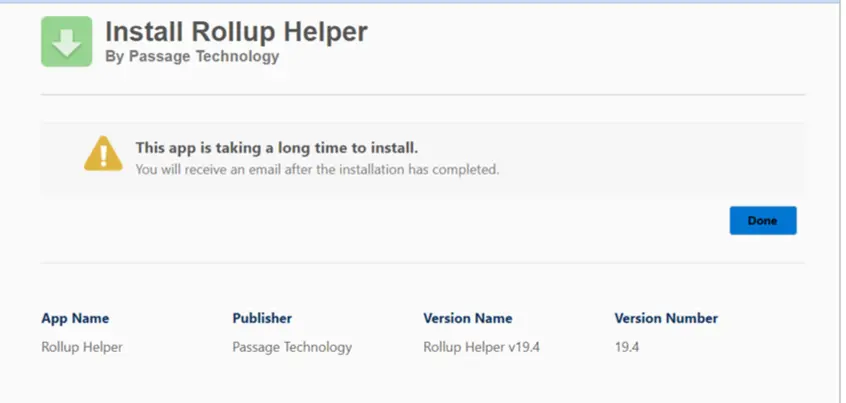
App Launcher > views all > App Exchange > search ‘Rollup Helper’ > get it now >
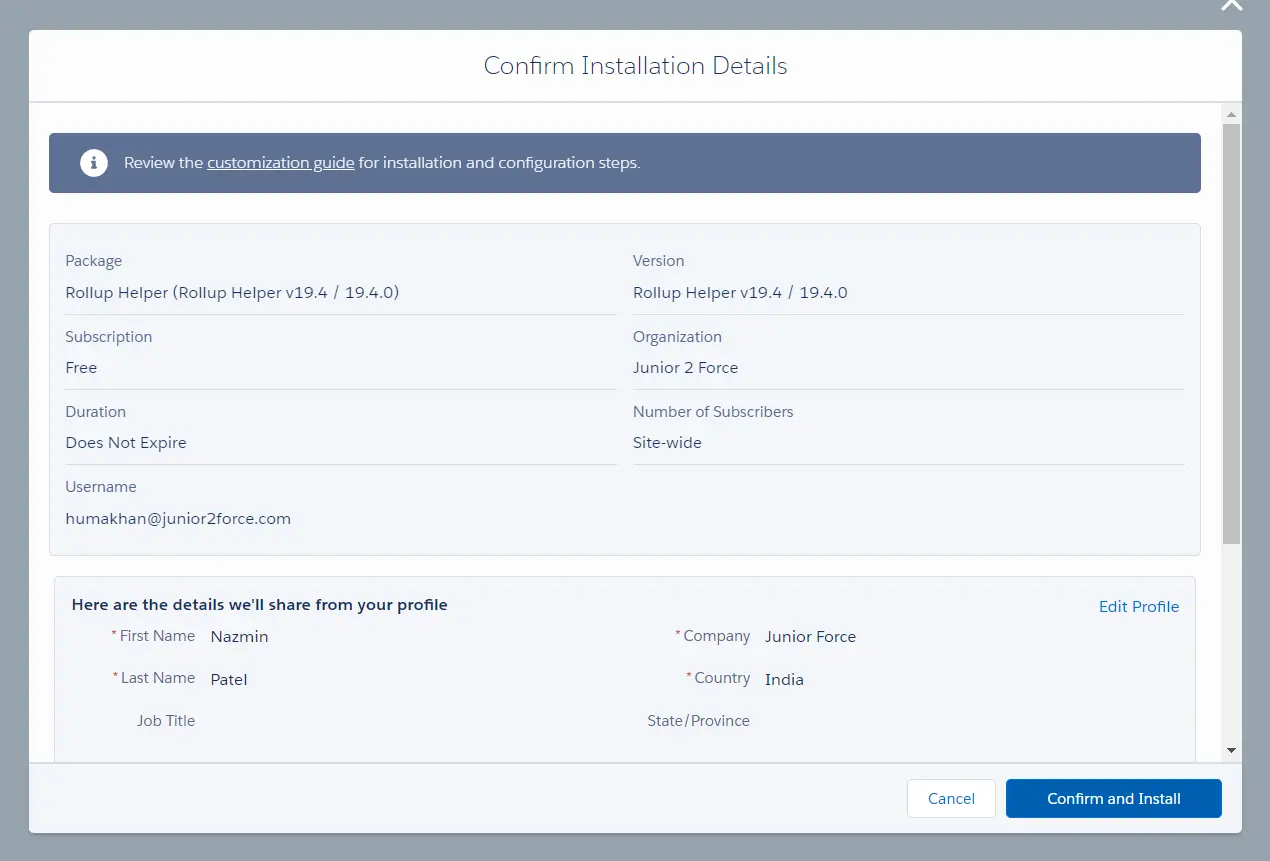
Install in production > Confirm and install > Login > Install for all users > done.
With Rollup Helper, you can roll-up any Salesforce data:
Quickly configure count, average, percent, lookup, text, formula, sum, max, min,
hierarchy, multi-currency roll-ups and more. Roll up the data your users need on records, list views, or reports!
Steps:
- Select the Rollup Helper app from the
Click on Get it now.
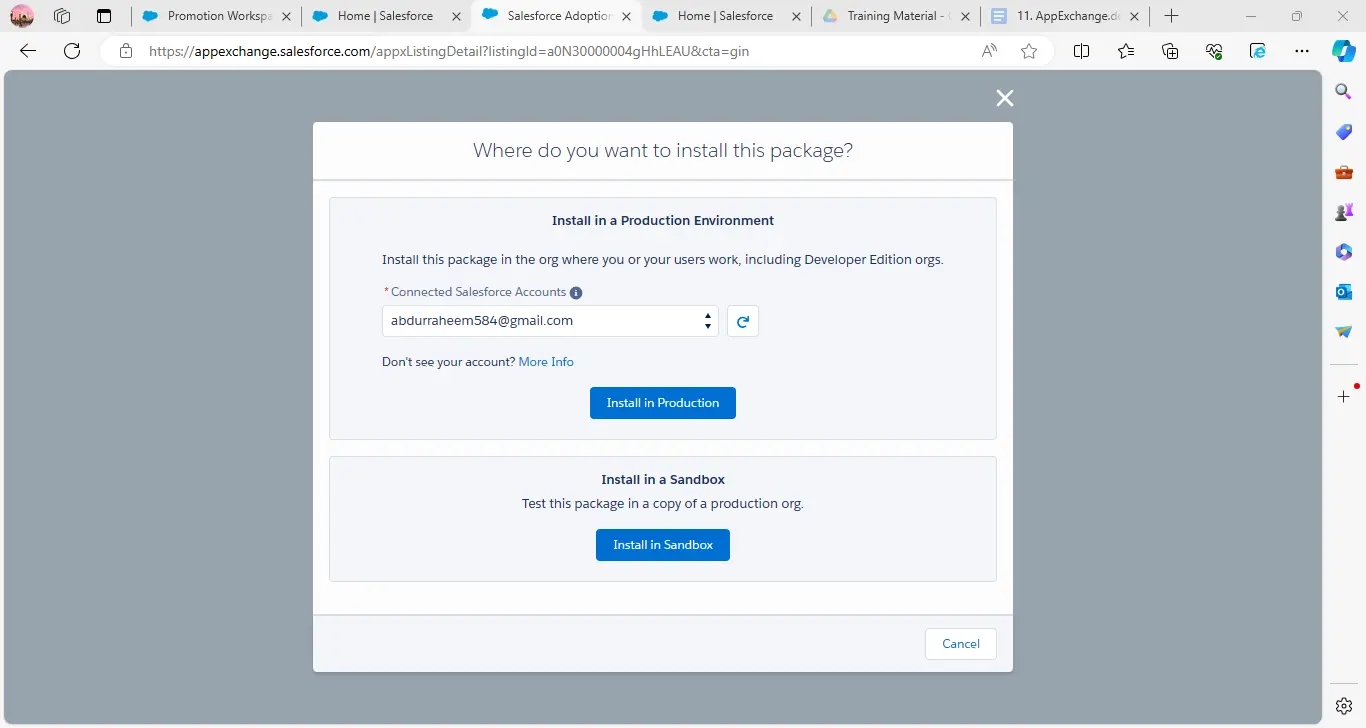
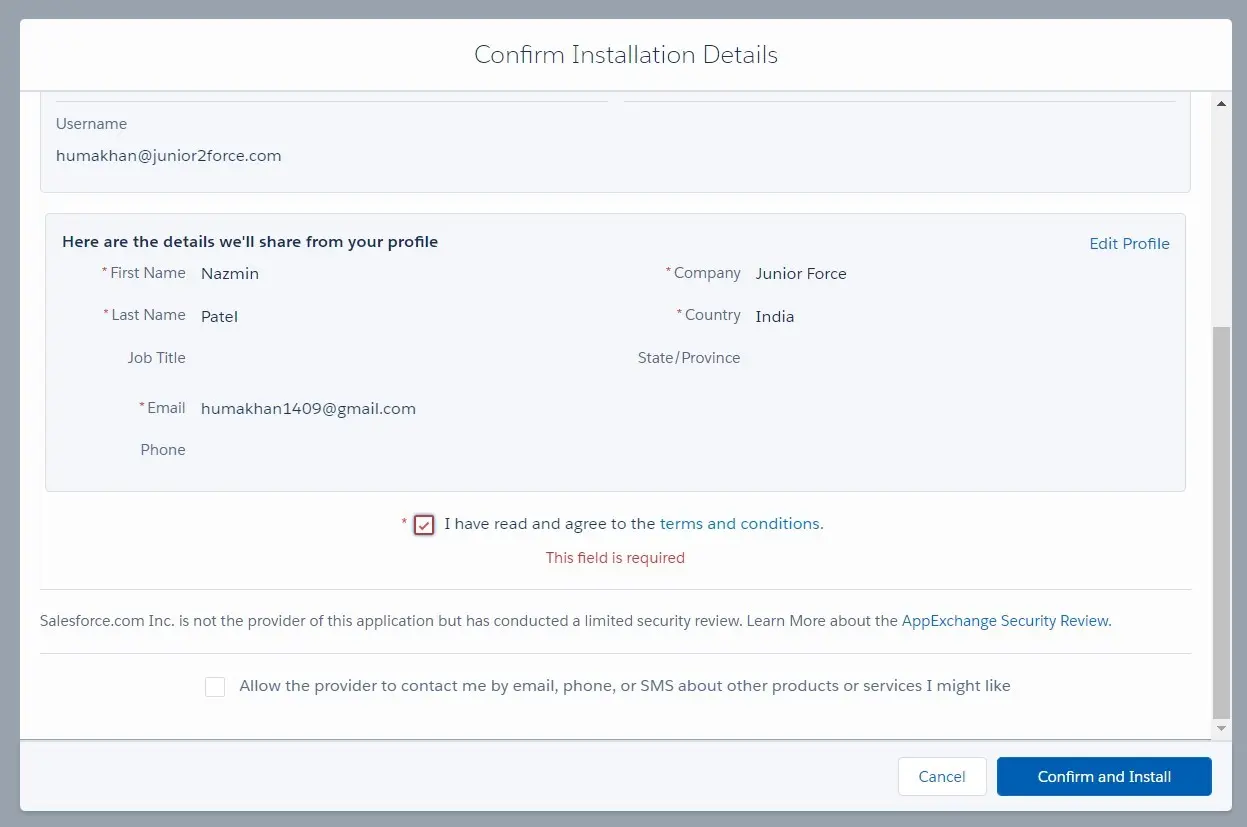
Where do you want to install this package?
Confirm Installation Details
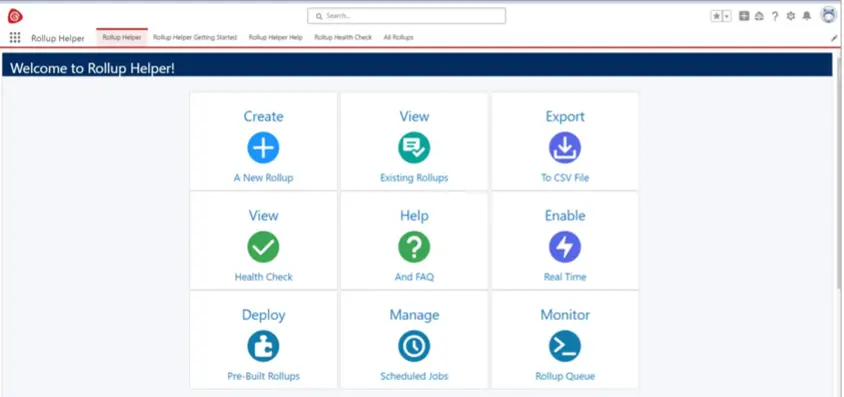
Now we can use the following app.
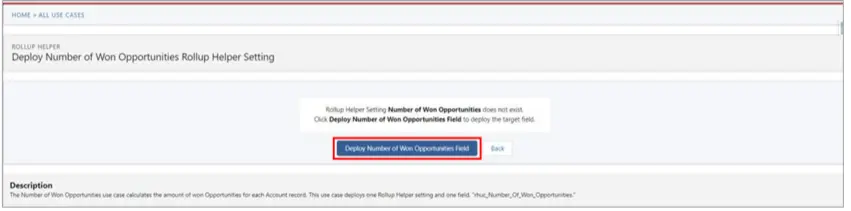
USE CASE: How do you calculate the number of won Opportunities for each Account record?
Solution:
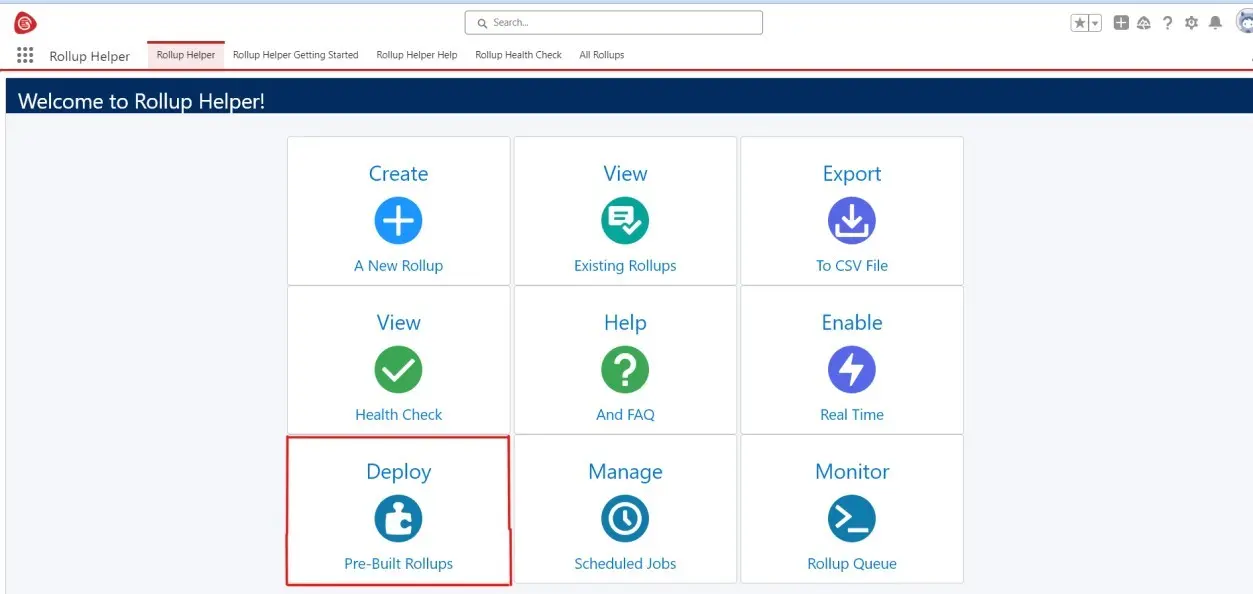
To quickly deploy the “Number of Won Opportunities” pre-built rollup using Rollup Helper, begin by logging into your Salesforce organization. Then, navigate to the App Launcher or All Tabs and search for “Rollup Helper.”
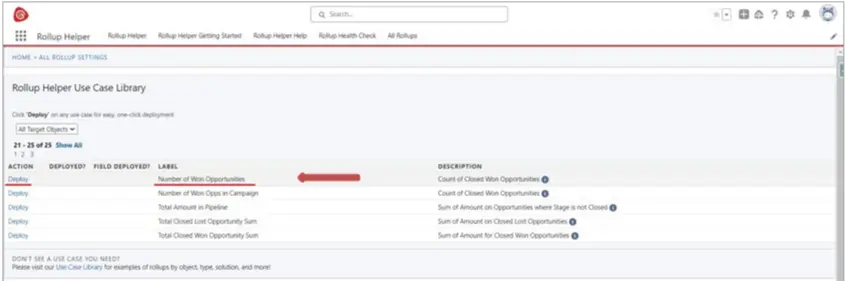
Once you’ve found the Rollup Helper app, click on it to open it. Inside the Rollup Helper app, locate the “Browse Use Cases” tile and select it. Look for the “Number of Won
Opportunities” label within the list of available use cases and click on “Deploy” next to it. Follow the on-screen prompts to complete the deployment process.
Upon successful deployment, Rollup Helper will automatically create a setting and a field named “rhuc_Number_Of_Won_Opportunities” to calculate the amount of won Opportunities for each Account record. If you encounter any difficulties during the
deployment process, consult Rollup Helper’s documentation or reach out to their support team for assistance.
Click on the "Deploy Number of Cases Field" button
• The Number of Cases field will be deployed.
Please Note: Field Level Security will not be automatically set when creating fields through Rollup Helper and the field will not automatically be added to page layouts. Please ensure that the newly created field is added to all desired layouts and permission sets once the rollup creation process has concluded.
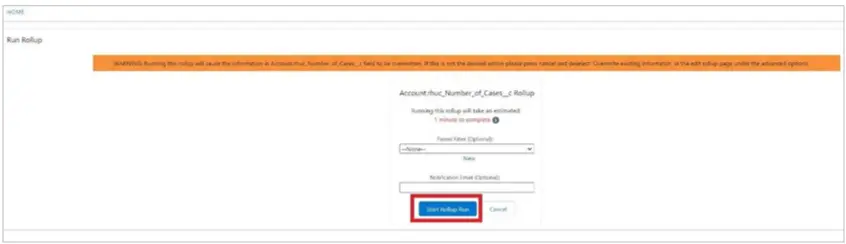
• Then click on the "Deploy and Run Number of Cases Setting" button.
Finally, click on the "Start Rollup Run" button
You will also be able to view and edit the deployed rollup via the All-Rollups page.
Tags: Case, Contact, COUNT, Pre-Built rollup
Adobe Acrobat Sign
Adobe Acrobat Sign offers seamless integration with Salesforce, enabling users to easily
incorporate eSignatures into their Salesforce workflows. With this integration, Salesforce users can send, track, and manage electronic signature requests directly from within the Salesforce environment.
Key features of Adobe Acrobat Sign eSignatures for Salesforce include:
1. Efficient Document Workflow: Users can send documents for signature directly from Salesforce, streamlining the document approval process and eliminating the need for manual document
2. Customizable Templates: Adobe Acrobat Sign allows users to create and save reusable templates for frequently used documents, saving time and ensuring consistency in document
3. Automated Tracking: Real-time status updates and notifications enable users to track the progress of signature requests, ensuring timely completion of
4. Secure Signing: Adobe Acrobat Sign offers advanced security features, including
encryption and authentication, to ensure the integrity and confidentiality of signed documents.
5. Integration Capabilities: Adobe Acrobat Sign seamlessly integrates with Salesforce, allowing users to access eSignatures directly within Salesforce records, such as contracts, agreements, and
Overall, Adobe Acrobat Sign eSignatures for Salesforce provides Salesforce users with a
comprehensive solution for incorporating electronic signatures into their business processes, enhancing efficiency, accuracy, and compliance.
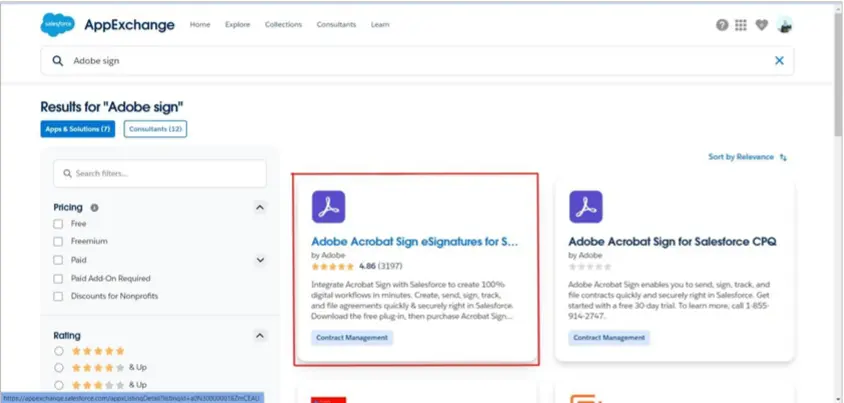
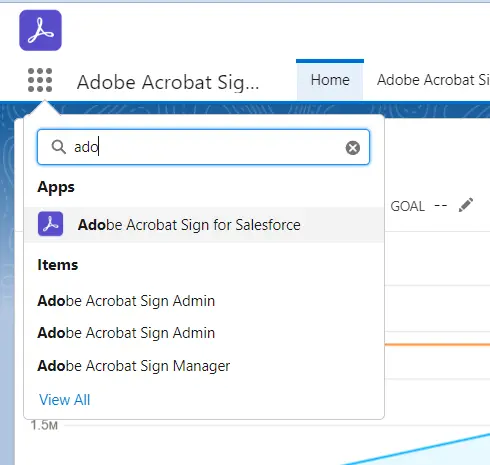
Scenario 4: Install the ‘Adobe Acrobat Sign’ app from App Exchange.
- How to install an app from app exchange
App Launcher > views all > App Exchange > search ‘Adobe Acrobat Sign’ > get it now
> Install in production > Confirm and install > Login > Install for all users > done.
- Select the Adobe Acrobat Sign app from the
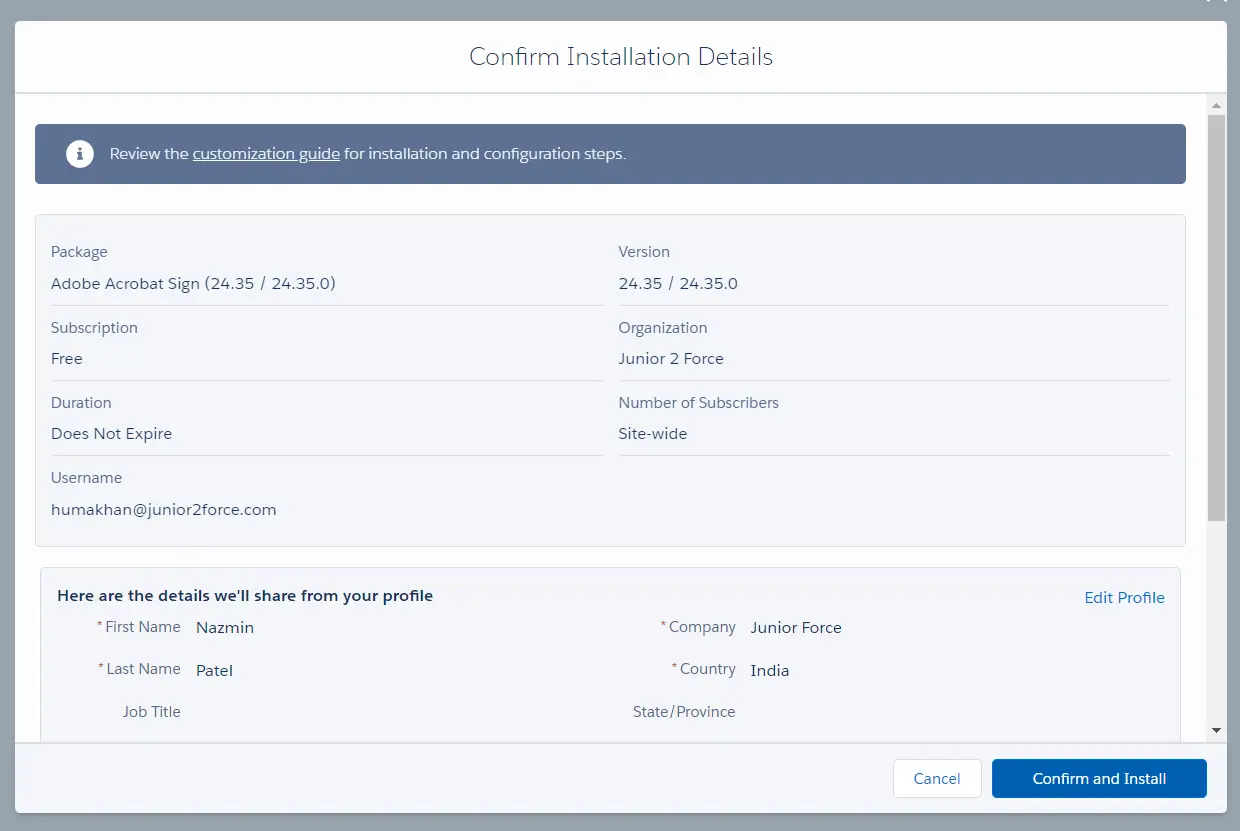
Where do you want to install this package?
- Confirm Installation Details
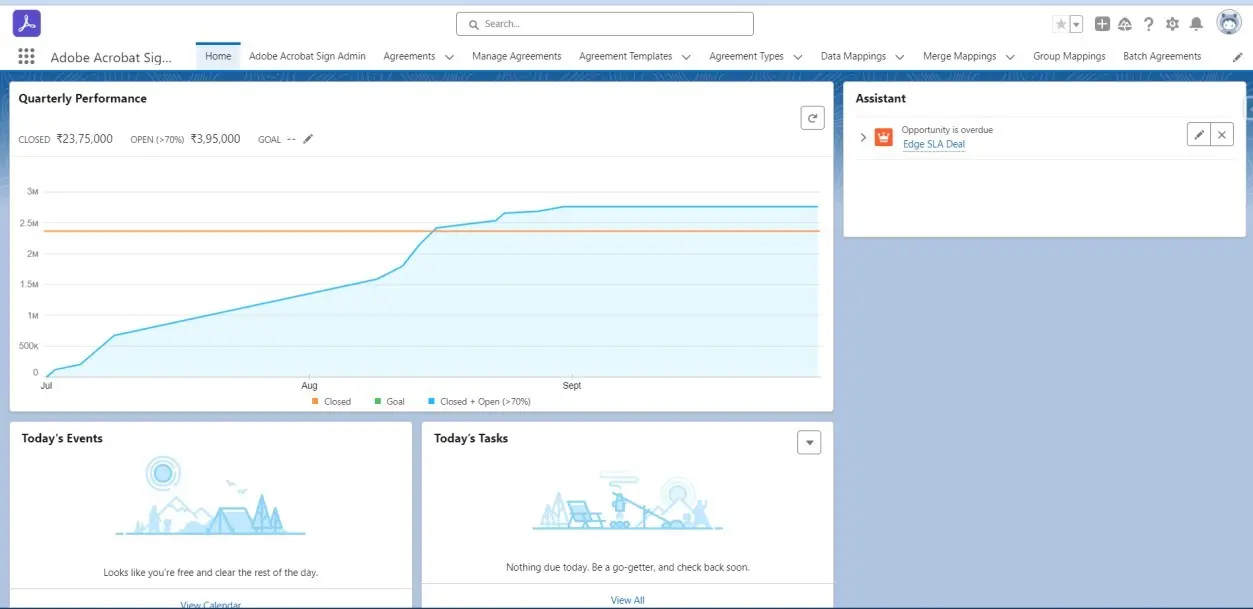
Now we can use the following app
Conclusion
These scenarios highlight just a fraction of what can be achieved through AppExchange apps in Salesforce. Each app serves a unique purpose, from managing educational data to streamlining document signatures, demonstrating the platform’s versatility and capability to boost productivity in various business processes. Whether for specific functional enhancements or comprehensive overhauls, Salesforce’s AppExchange provides the tools necessary for businesses to thrive in a digital-first world.