3. Tax Configurations/ How to set up GST Registration.
1. Create 15-Days Free Trial ODOO ERP
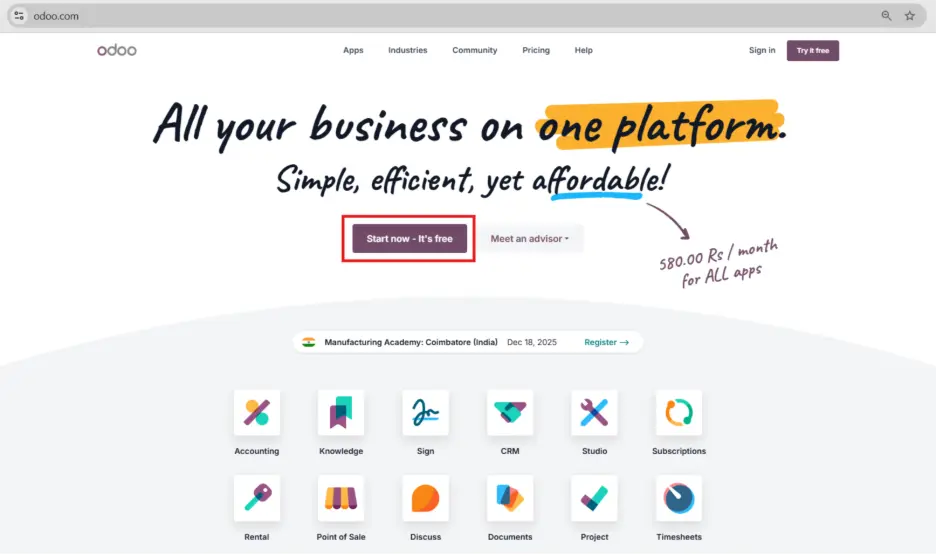
To begin with Odoo ERP: Step-by-Step Process to Create an Odoo Free Trial Account Step 1.Visit https://www.odoo.com/ Step 2: Now you enter the Odoo website. Here you can see two options: Sign In and Try it Free, so click on the “Try it Free” button. Step 3:Click on“Try it Free”on the homepage to start creating your free trial account
Step 4: Now you enter the Odoo app selection form, where we choose the required apps (modules); here under Finance select Accounting,and you can select multiple apps, so for example select Accounting,Sales, and Expenses, then click on the Continue button on the right side. (You can add more apps later if required.)
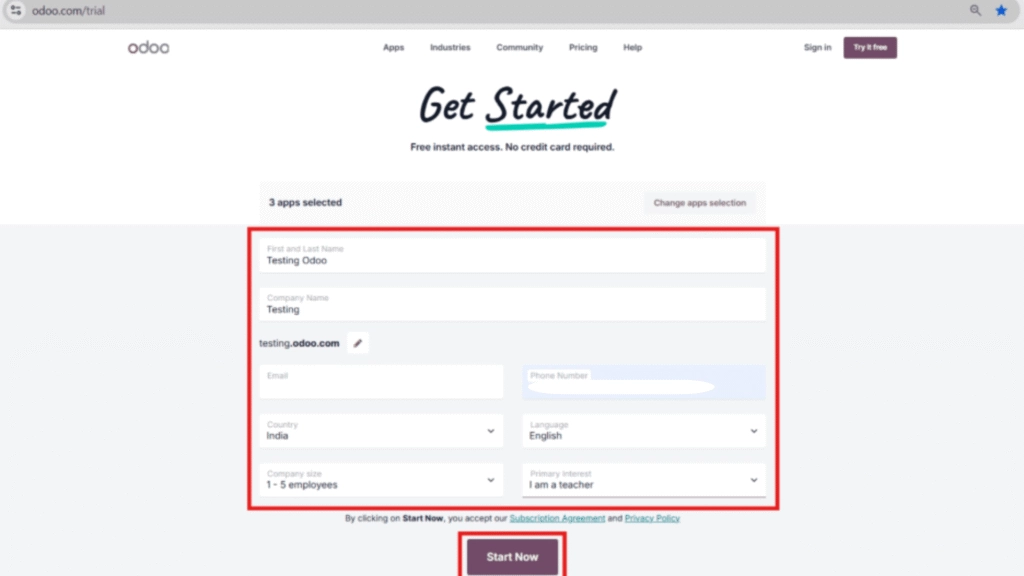
Step 5: Enter your Name, Company Name, Email, Mobile Number, select Country, Language, Company Size, and Primary Interest (why you are using Odoo ERP), then click on the Start Now button.
Note:For example, enter “Testing Odoo” as the name, “Testing” as the company name, and your valid email address.
After this, the Welcome to Odoo page will open
Step 6: After entering Odoo, you will see a database activation notification stating that the database must be activated within 3 hours, otherwise the database will expire, so go to the email address used for signup where Odoo has sent an activation link.
Step 7: Open the activation email and click on Activate Database, then the database sign-in form will open, enter the same email address, set your password, and your Odoo database will be activated successfully.
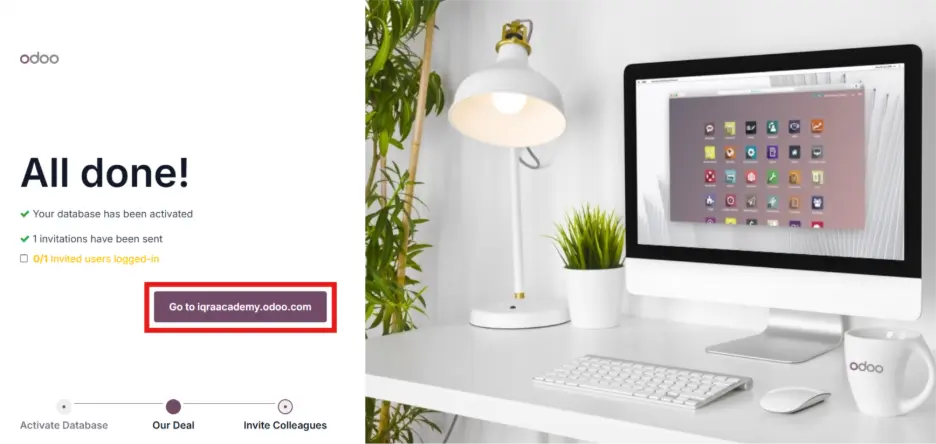
Step 8: After activation, the Invite Colleagues screen will appear, which you can skip, or for example you can add a colleague’s name and email, click on Send Invites, and then click on Go to your database (for example: iqraaacademy.odoo.com).
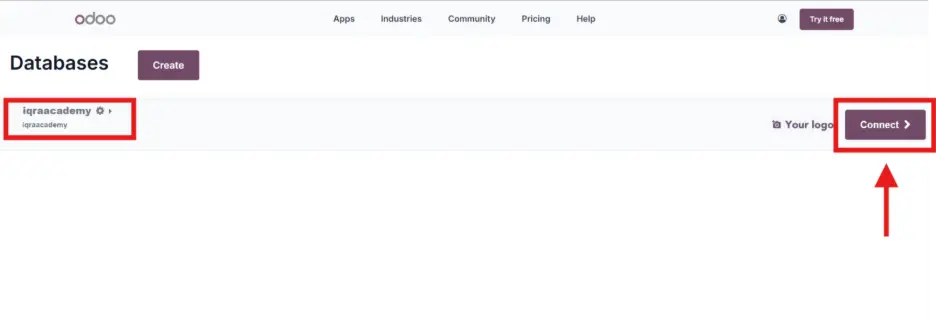
Step 9:Now click on the Connect button, and your Odoo free trial account will be opened successfully.
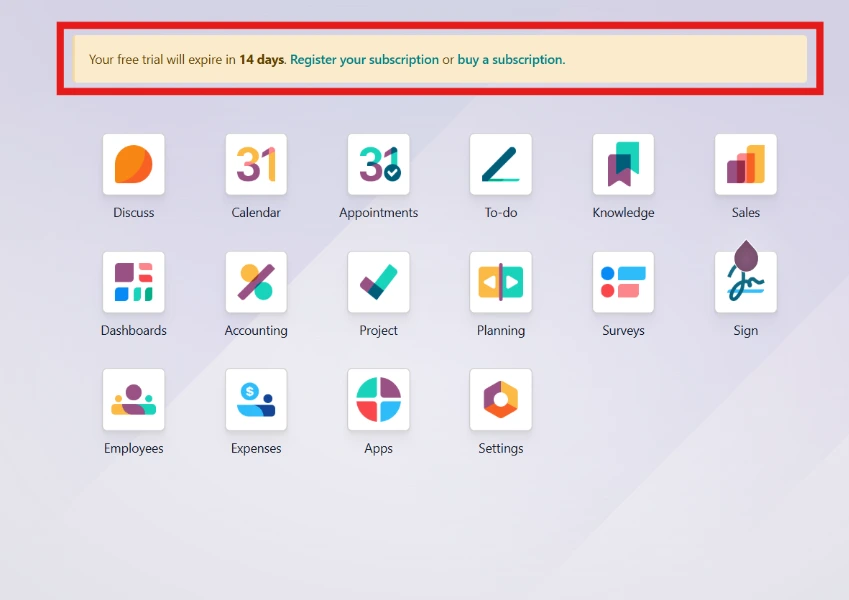
Step 10: After successful login, you will be redirected to the Set Up Organization Profile page, Now you see Your 14Days Free trial is starts.
After Completing these steps you successfully logged in Odoo ERP Dashboard.
2. Set up Organization Profile
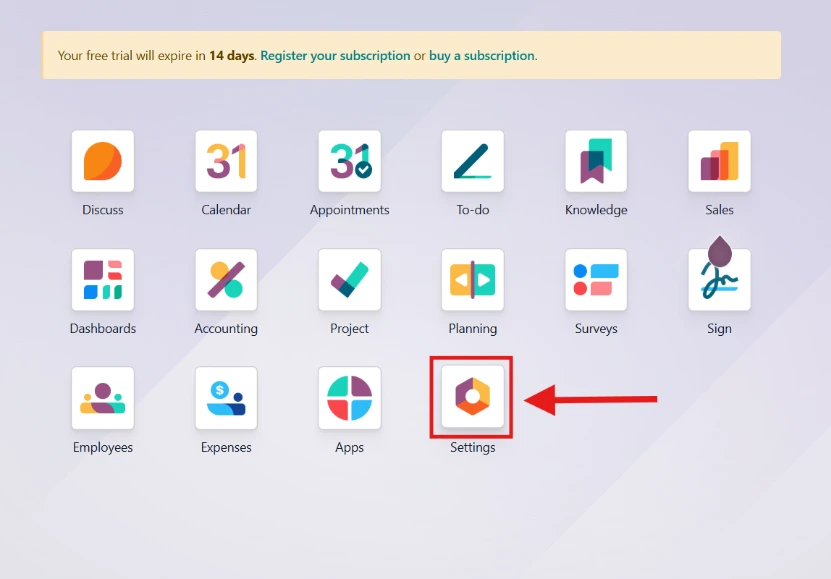
Step 1.After logging in to Odoo, you will see the dashboard with all installed apps. Click on the Settings application.
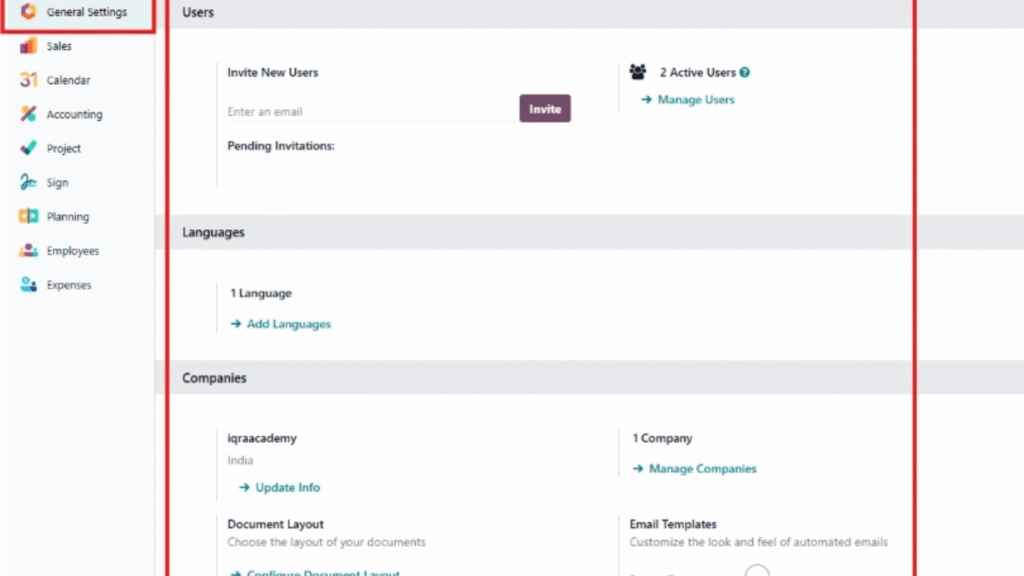
Step 2:After clicking on Settings, the General Settings page will open automatically.Here you can configure basic system settings for your organization.
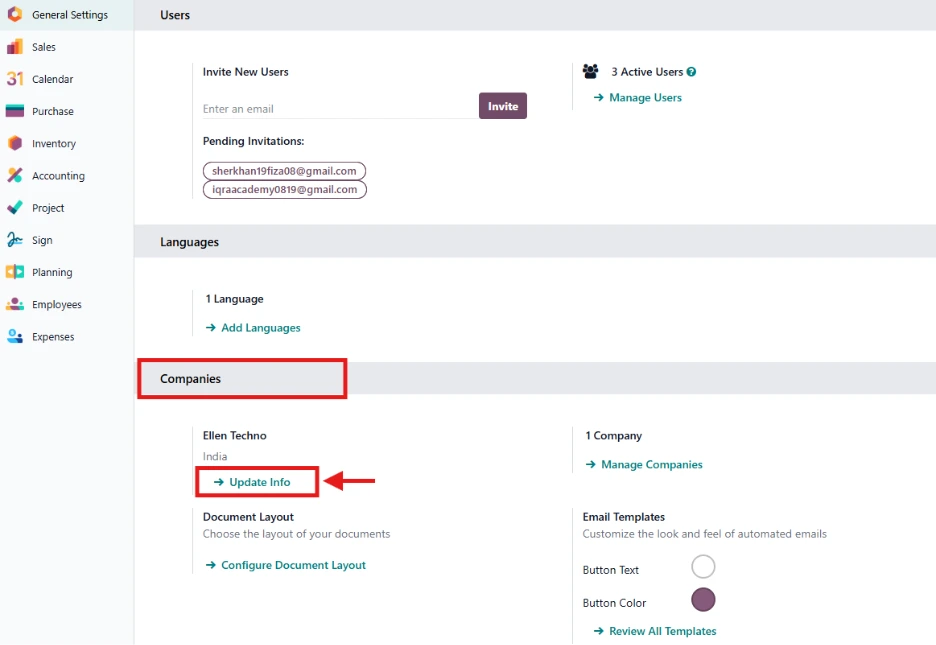
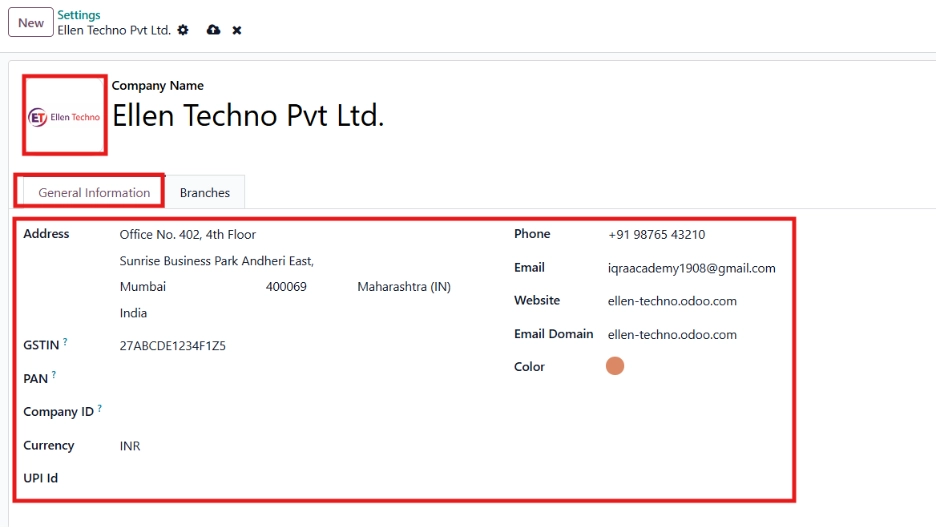
Step 3:In the Setting section, you will see your Companies name hereClick on Update Infofor update Your Companies Details.