Setting Up a React Project (Vite & CRA)
When starting with React, you need a proper setup to create and manage your project efficiently. There are two popular ways to set up a React project:
1️⃣ Create React App (CRA) – A traditional and beginner-friendly way to start a React project.
2️⃣ Vite – A modern, faster alternative to CRA that offers better performance.
In this guide, we’ll cover both methods step by step and set up the environment in Visual Studio Code (VS Code).
Setting Up Environment in Visual Studio Code
Before starting with React, you need to set up a proper development environment using VS Code.
1️⃣ Install Visual Studio Code
👉 Download and install VS Code from https://code.visualstudio.com/
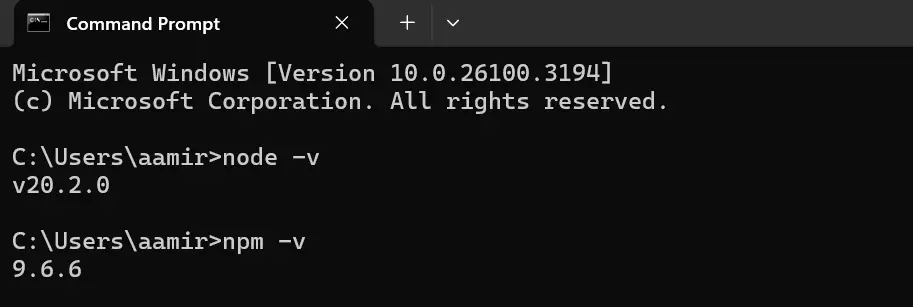
2️⃣ Install Node.js
👉 Verify installation by running:
3️⃣ Install VS Code Extensions
To improve your React development experience, install the following extensions:
👉 ES7+ React/Redux/React-Native snippets – Provides useful snippets for React.
👉 Prettier – Code formatter – Helps format your code automatically.
👉 ESLint – Ensures your JavaScript code follows best practices.
👉 GitLens – Helps manage Git repositories.
4️⃣ Configure VS Code Settings for React
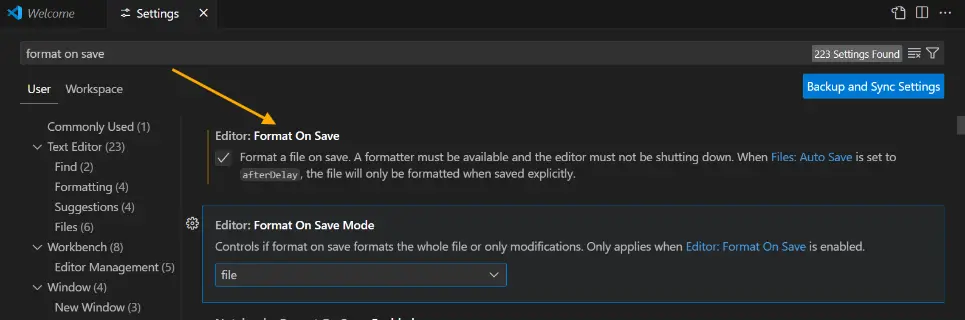
👉 Open VS Code and go to `Settings` (File → Preferences → Settings).
👉 Search for `format on save` and enable it.
👉 Search for `default formatter` and select Prettier.
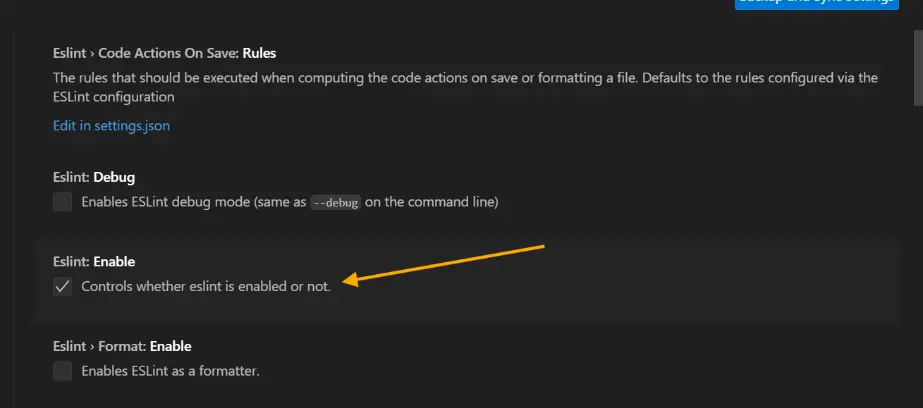
👉 Ensure ESLint is enabled to detect errors in your React code.
5️⃣ Open Your Project in VS Code
Once you’ve set up your React project (using CRA or Vite), open it in VS Code:
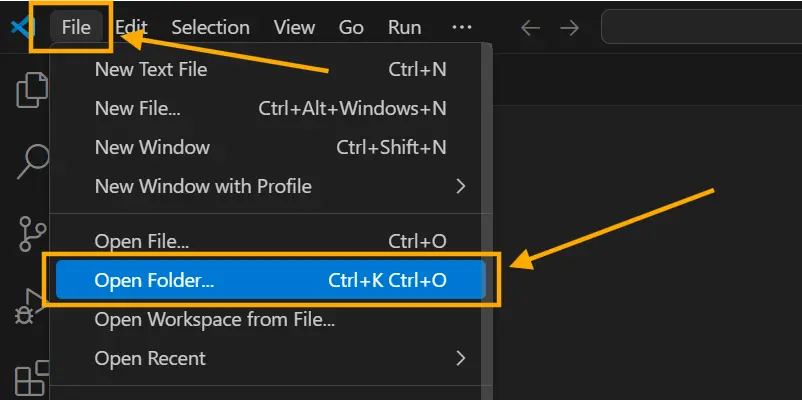
👉 Open VS Code.
👉 Click on File → Open Folder and select your React project folder.
👉 Open a terminal inside VS Code (`Ctrl + ~` on Windows/Linux or `Cmd + ~` on Mac).
Method 1: Using Create React App (CRA)
Create React App (CRA) is a tool that helps set up a new React project with a good default structure and configurations.
Steps to Set Up React with CRA
1️⃣ Create a New React App
👉 Open the terminal in VS Code and run:
👉 Replace `my-app` with your preferred project name.
2️⃣ Navigate to the Project Folder
3️⃣ Start the Development Server
👉 This will start the local development server and open the app in your default web browser.
Method 2: Using Vite
Vite is a modern build tool that is much faster than CRA. It provides a lightweight and optimized React setup.
Steps to Set Up React with Vite
1️⃣ Create a New React App with Vite
👉 Open the terminal in VS Code and run
npm create vite@latest my-vite-app –template react
👉 Replace `my-vite-app` with your desired project name.
2️⃣ Navigate to the Project Folder
3️⃣ Install Dependencies
4️⃣ Start the Development Server
👉 This will start the Vite development server and provide a local URL for preview.
CRA vs. Vite: Which One to Choose?
Conclusion
Both CRA and Vite are great choices for setting up a React project. If you are a beginner and want a simple setup, go with CRA. If you prefer speed and performance, Vite is the better option. Additionally, setting up your development environment properly in VS Code ensures a smooth coding experience!
Course Video in English