

Sharing and Collaborating with Apps
In this section, we’ll learn how to securely share your Power BI reports and dashboards, manage access and permissions, and use role-based access to control who sees what data.
1. Sharing Reports and Dashboards through Apps
• What is an App in Power BI?
An App is a collection of Power BI reports and dashboards that you can share with others in your organization in a
secure and controlled way.
• How to Share through Apps:
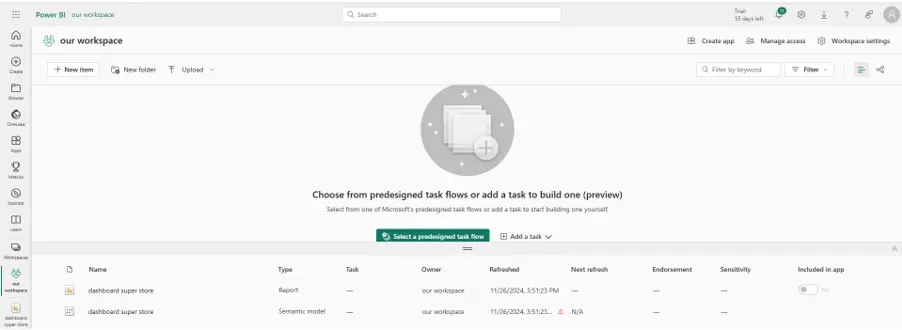
1. Go to the Power BI Service and create a Workspace for your team. Add your reports and dashboards to this
Workspace.
2. Click on Create App to create an App that contains these reports and dashboards.

3. Enter the description for your app and click on add content to add reports in your app.

4. Select the report or dashboard you want to include in your app and click on Add.

5. Click on Add audience to share your app to your organization or you can choose specific people to share your app with by specifying their email. Click on publish app.
• You can select the check boxes to allow audience to use the dataset of your report.

6. Share the App link with your team or organization. They can access it without needing direct access to each report.

If you want to delete an app so you can click on three dots(…) in the top right corner in workspace and click on unpublish app.

• Why Use Apps?
Apps make it easy to share multiple reports and dashboards at once while maintaining control over access.
2. Creating a Dashboard
A Dashboard is single-page, customizable view that displays visuals (tiles) from reports or datasets. Aggregates visuals from one or multiple reports or datasets. Tailored to highlight specific metrics by pinning visuals. Dashboards in Power BI Service are created by pinning visuals from reports. You can include a dashboard in App.
• Open your published report. Select the visual or tile you want to add to the dashboard. Click the Pin Visual icon
(a pin symbol). Choose whether to pin to an existing dashboard or create a new one.

- You can pin the entire page in dashboard by clicking three dots and choose Pin to a dashboard. Choose whether to pin to an existing dashboard or create a new one.

Course Video
A collection of reports and dashboards bundled for easy sharing and collaboration.
Create an App in a Workspace, add content, specify the audience, and publish it.
- Centralized access to multiple reports.
- Managed permissions and updates.
- Easy sharing with a link.
Assign roles (Admin, Member, Viewer) and control access during publishing.
It restricts data visibility based on user roles, defined in Power BI Desktop and assigned in the Service.
