Yoast SEO is one of the most popular plugins for optimizing WordPress websites for search engines. It helps improve content readability, keyword usage, and technical SEO settings.
Step 1: Install and Activate Yoast SEO
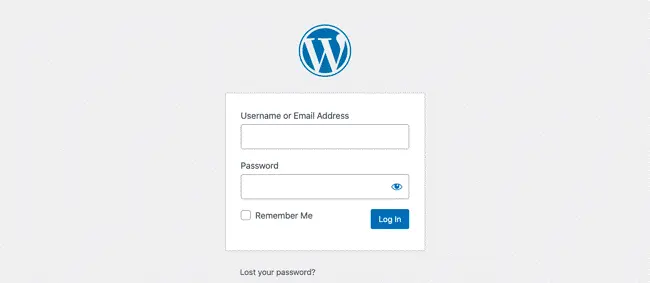
Log in to your WordPress dashboard.
2. Navigate to Plugins > Add New.
3. Search for Yoast SEO in the search bar.
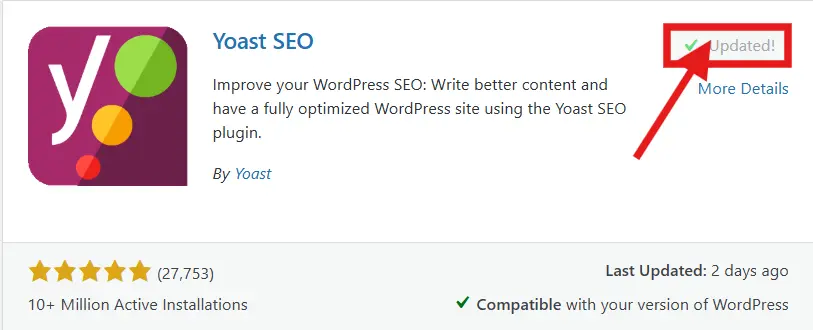
4. Click Install Now, then Activate the plugin.
Step 2: Configure Yoast SEO
After activation, go to SEO > General from the dashboard.
2. Click on the First-time Configuration tab to set up the plugin.
3. Follow the on-screen steps to configure your site’s SEO settings, including site type, organization name, and social media profiles.
Step 3: Optimize Content Using Yoast SEO
When creating or editing a post/page, scroll down to the Yoast SEO section.
2. Enter your focus keyphrase (main keyword).
3. Check the SEO Analysis and follow suggestions for improvement.
4. Improve the Readability Score by adjusting sentence length, paragraph structure, and transition words
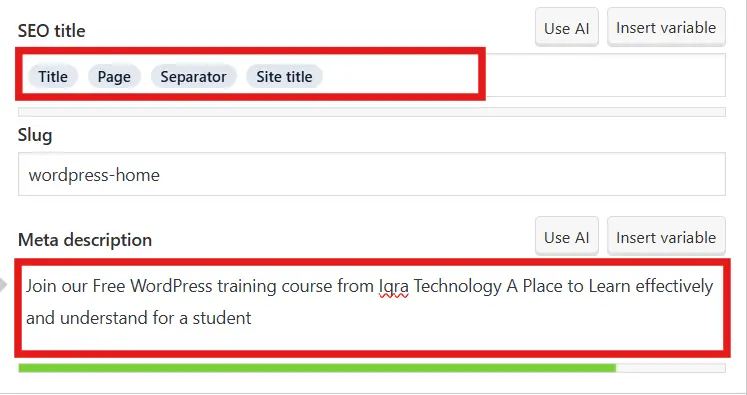
5. Add a Meta Title and Meta Description to enhance search engine visibility.
Step 4: Configure Sitemap and Advanced Settings
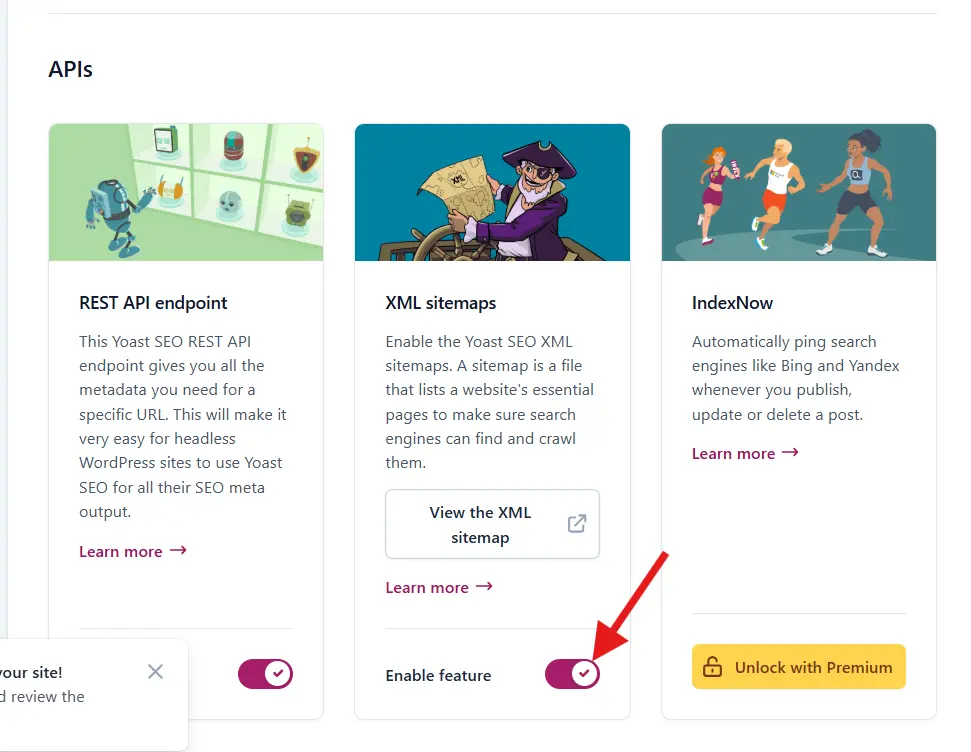
Navigate to SEO > General > Features and ensure XML Sitemaps are enabled.
Conclusion
Yoast SEO simplifies the process of optimizing WordPress websites by providing clear SEO recommendations and technical settings. By installing and configuring Yoast SEO, beginners can improve their site’s search rankings, enhance content quality, and drive more organic traffic.