Setting Up WordPress
Installation of Xampp for practice WP in local host (manual setup)
To practice WordPress on your local computer (localhost), you’ll need to set up a local server environment. XAMPP is a great tool for this because it includes everything you need: Apache (the web server), MySQL (database), and PHP (the programming language WordPress uses). Here’s how you can install XAMPP and set up WordPress manually:
Step 1: Download XAMPP
• Visit the official XAMPP website (https://www.apachefriends.org/) and download the version suitable for your operating system (Windows, macOS, or Linux).
Step 2: Install XAMPP
• Run the downloaded installer file.
• Follow the on-screen instructions, accepting the default settings unless you have specific preferences.
• Choose a location to install XAMPP (the default is usually fine).
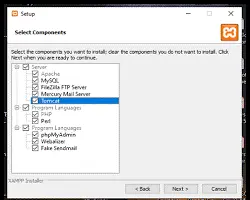
• Select the components to install (Apache, MySQL, PHP, and phpMyAdmin are essential for WordPress).
XAMPP installation process
Step 3: Start XAMPP Control Panel
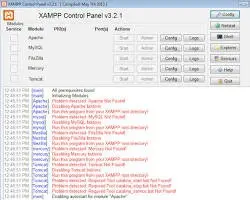
• Once installed, open the XAMPP Control Panel.
• Start the Apache and MySQL services.
XAMPP Control Panel with Apache and MySQL started
Step 4: Access phpMyAdmin
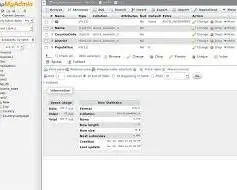
• In your web browser, go to http://localhost/phpmyadmin/.
• This will open the phpMyAdmin interface, where you’ll manage your databases.
Step 5: Create a Database for WordPress
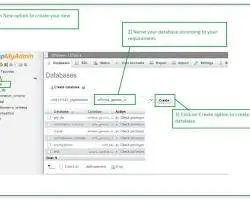
• In phpMyAdmin, click on “Databases”.
• Enter a name for your database (e.g., “wordpress_db”) and click “Create”.
creating a database in phpMyAdmin
Step 6: Download WordPress
Step 7: Extract WordPress Files
• Extract the downloaded WordPress ZIP file.
• Copy the extracted “wordpress” folder.
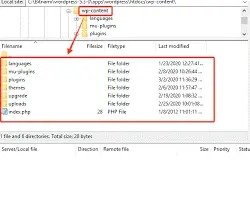
Step 8: Place WordPress Files in XAMPP's htdocs Folder
• Navigate to the “htdocs” folder within your XAMPP installation directory (usually C:\xampp\htdocs).
• Paste the “wordpress” folder here.
WordPress files in htdocs folder
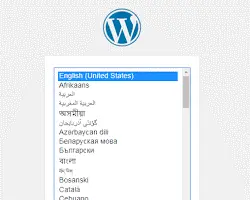
Step 9: Configure WordPress
• In your web browser, go to http://localhost/wordpress/.
• You’ll be greeted with the WordPress setup screen.
• Select your language and click “Continue”.
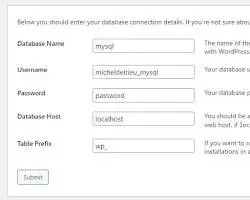
Step 10: Enter Database Details
• Enter the database name, username (usually “root”), password (leave blank for local development), and hostname (usually “localhost”).
• Click “Submit”.
Entering database details in the WordPress setup
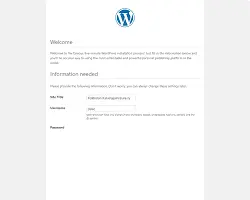
Step 11: Run the Installation
• Enter your site title, username, password, and email address.
• Click “Install WordPress”.
WordPress installation screen
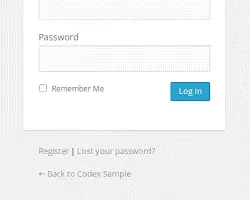
Step 12: Log in to WordPress
• Once installed, you’ll be able to log in to your WordPress dashboard.
WordPress login screen
That’s it! You’ve successfully installed XAMPP and WordPress on your local machine. You can now start practicing and building your WordPress skills in a safe and controlled environment.
Course Video
Reference Video